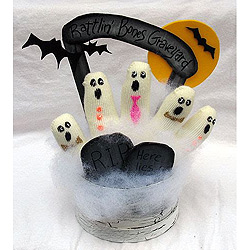
Fill the glove with cotton batting, ensuring that all fingers are full and half of the palm.
Dot on ghost eyes using the handle end of a paintbrush dipped in black paint. Use a smaller dot of white on top of that, then dot on a black spot with a toothpick.
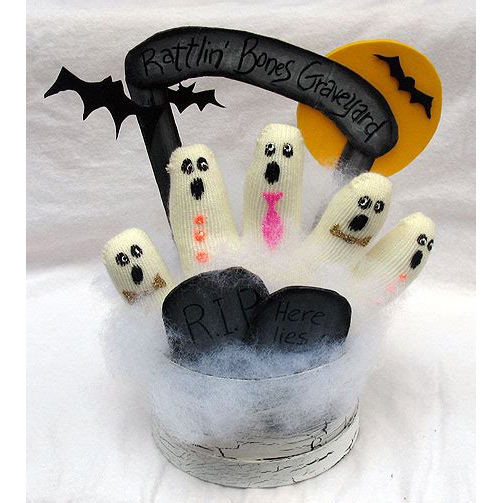
Dip toothpick into craft glue and draw bow ties, buttons and a tie (see photo) and sprinkle with glitter. Set aside to dry.
Paint entire outside surface of the paper mache box with black paint. Allow to dry.
Paint entire outside surface of the paper mache box with black paint. Allow to dry.
Apply crackle medium according to directions on the bottle, a medium coat works well. Allow it to dry for 15-25 minutes, until tacky but not completely dry. Next apply a medium coat of white paint over the crackle on the box. Do not excessively brush, one or two strokes is enough. Let dry, crackle will begin to work within minutes.
Mix together some black and white paint to make gray. Paint the craft sticks gray and set aside.
Using the pattern, cut the graveyard sign and 2 tombstones from cardboard. Paint all of them gray and set aside to dry.
Cut moon from yellow foam and all three bats from black foam.
Use black marker to write RIP and "Here lies a" on the tombstones (you will not see more than that once craft is complete).
Shade the craft sticks, sign and the headstones with black paint, highlight with a little white. Write the words "Rattlin' Bones Graveyard" across the sign with black marker.
Place a handful of cotton batting into the box. Place the glove inside the box. If the height looks good, glue it all in. If not, remove or add batting below the glove to adjust.
Place some batting in front of the ghosts, but don't glue it in just yet. Position the headstones where you want them, then glue them in, adding and gluing batting as you go.
Add more batting to the back of the box behind the ghosts and place craft sticks behind ghosts, do not glue just yet. Position sticks, one higher than the other, so that the sign will be slanted downward. Hold the sign up to the sticks to make sure that they line up. Hot glue the sign to the sticks FIRST, then glue the ends of the sticks into the box. Add more batting if needed.
Glue the large bat to the front left side of the sign and the medium bat behind the sign on the same side (refer to photo). Glue the yellow moon behind the sign on the right side and glue the small bat to the moon.
Adjust and glue any loose batting and you are done!


