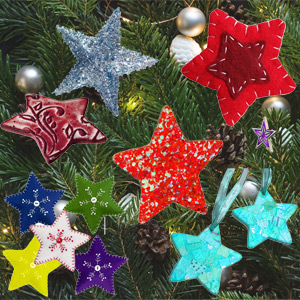
Stars are wonderful to decorate with during the holidays. There are so many ways you can make stars to use as ornaments. Below are a few ideas.
Use wooden star cutouts or cut star shapes out of card board and felt. Glue or stitch felt onto card board piece. Decorate with embroidered patterns or with glued on sequins.
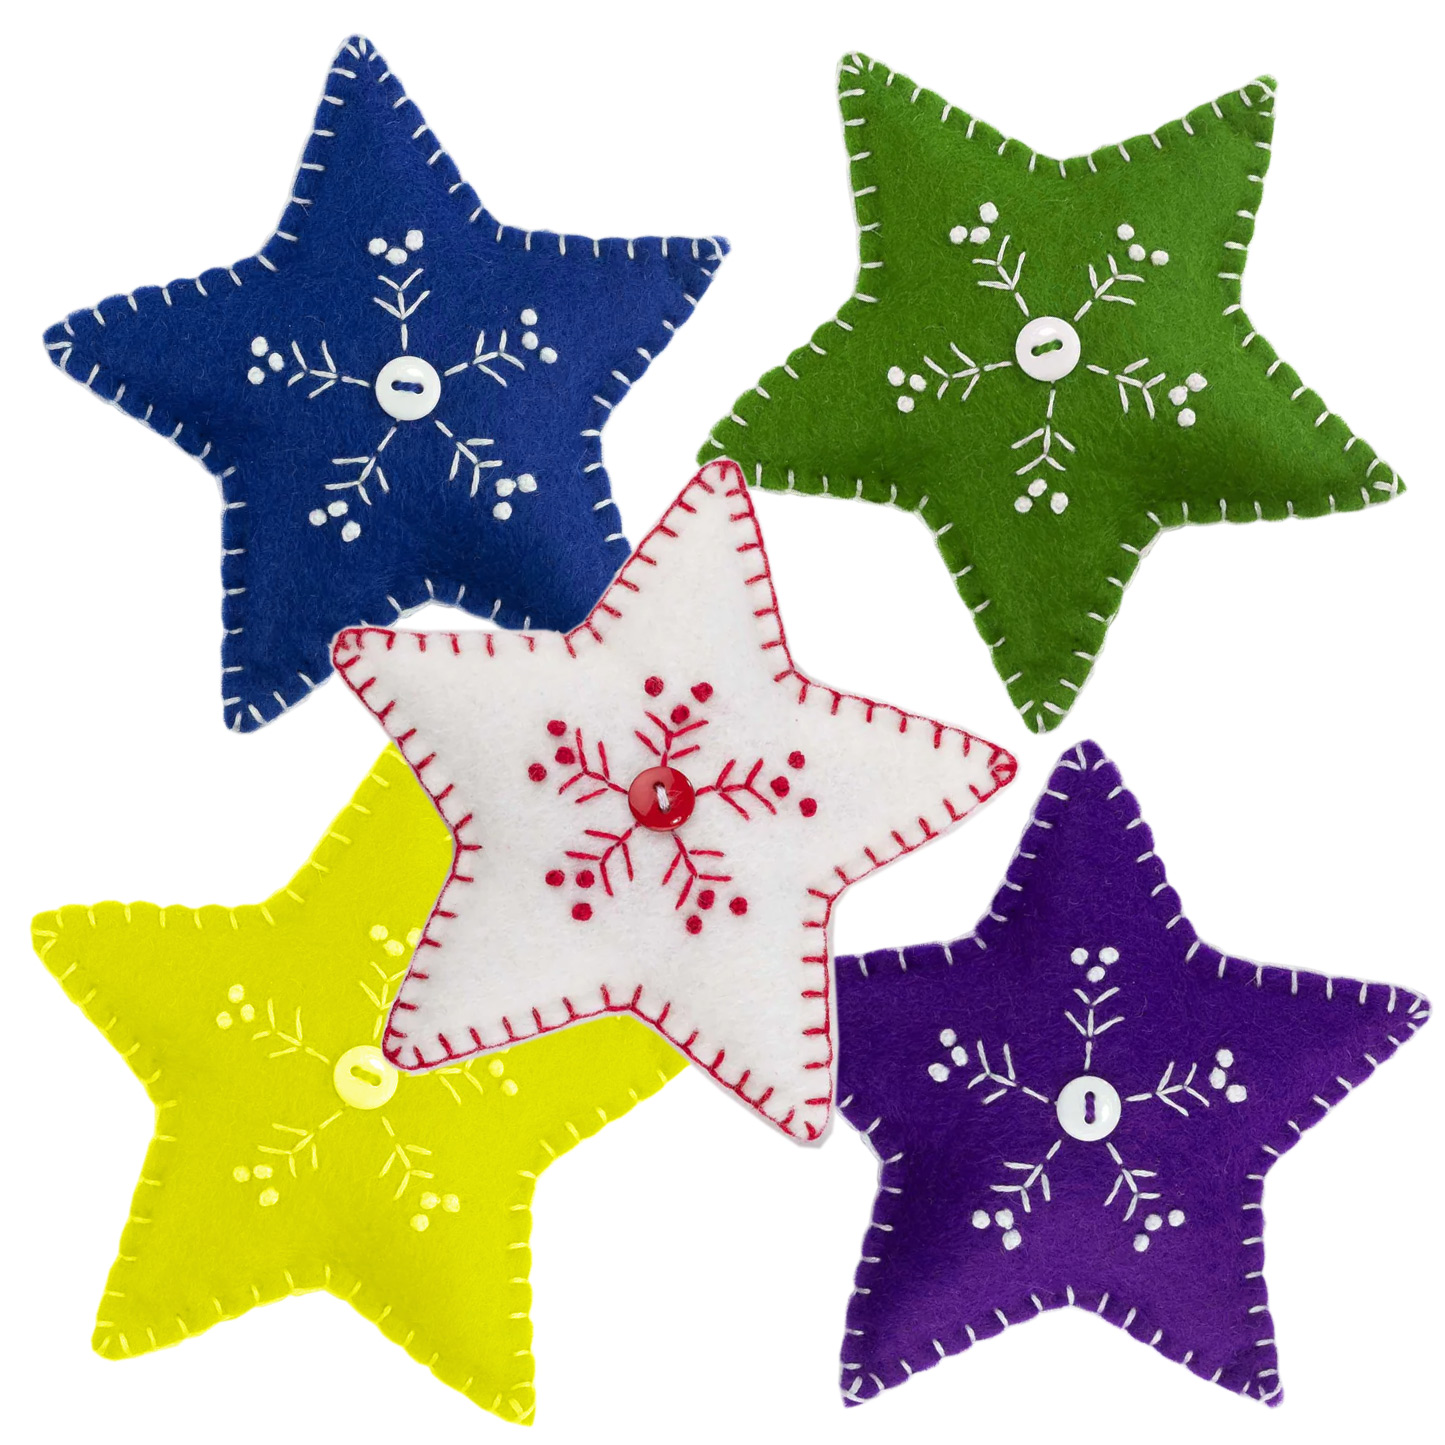
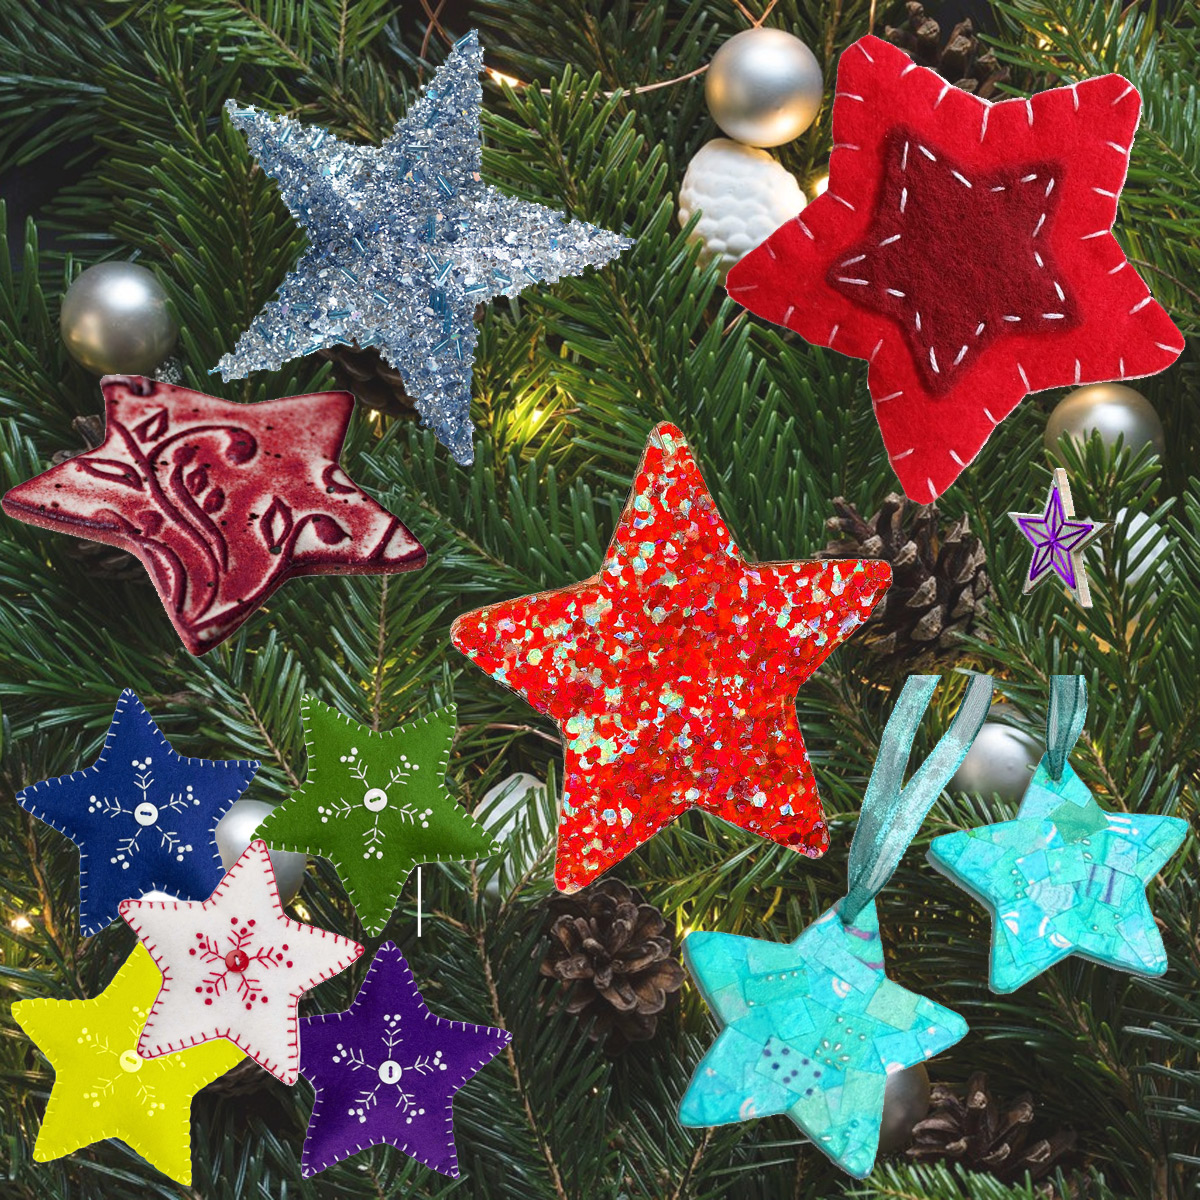
Felt Covered Stars:
These cardboard stars were transformed into lovely ornaments using felt and embroidered with a delightful pattern! To add a finishing touch, a matching button was sewn into the center. You could also glue a sequin, bead, or rhinestone in the center and in a few other select places. Don't be afraid to use your imagination. If you aren't sure of how your design will look try laying it out first to see if you like it.

Beaded Stars:
Choose an assortment of small beads such as seed beads and bugle beads and pour into a paper plate that has sides. Choose matching colors or even contrasting colors. Once you get the mixture like you want it, smear craft glue (or spray glue) onto one side of your wood star cutout. Let it begin to get tacky and then lay it on top of your bead mixture and press it into the bead mixture. Once it is well coated set it aside and allow to dry. Once it is dry, repeat on the other side. Once the other side is dry repeat on edges of star. Cut a 5 1/2" piece of 1/8" ribbon or metallic cord and glue to the tip of one of the points for a hanger.
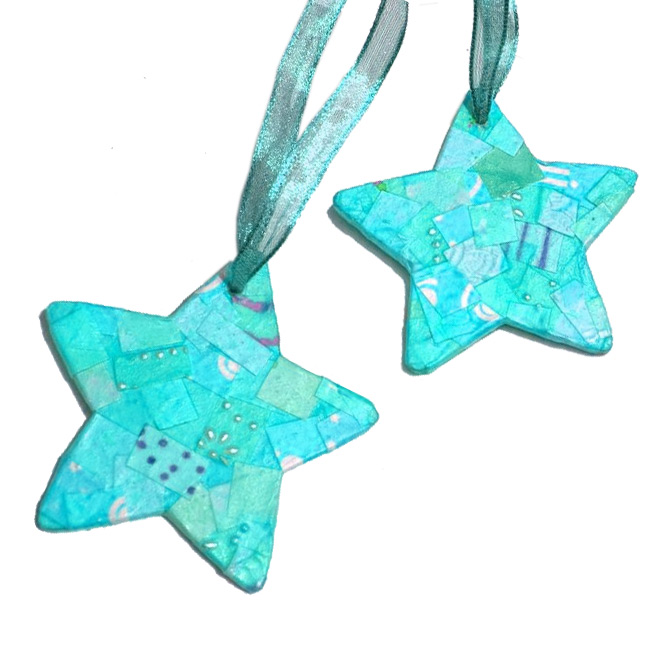
Decoupaged Stars:
Paper Suggestions: Wrapping paper scraps, tissue paper, scrapbooking paper, old children's books, newspaper, or other colorful paper you have laying around. Cut into small pieces and modpodge to your star. Add randomly or use contrasting colors to add alphabet characters to your star representing family members. Cut a 5 1/2" piece of 1/8" ribbon or metallic cord and glue to the tip of one of the points for a hanger.
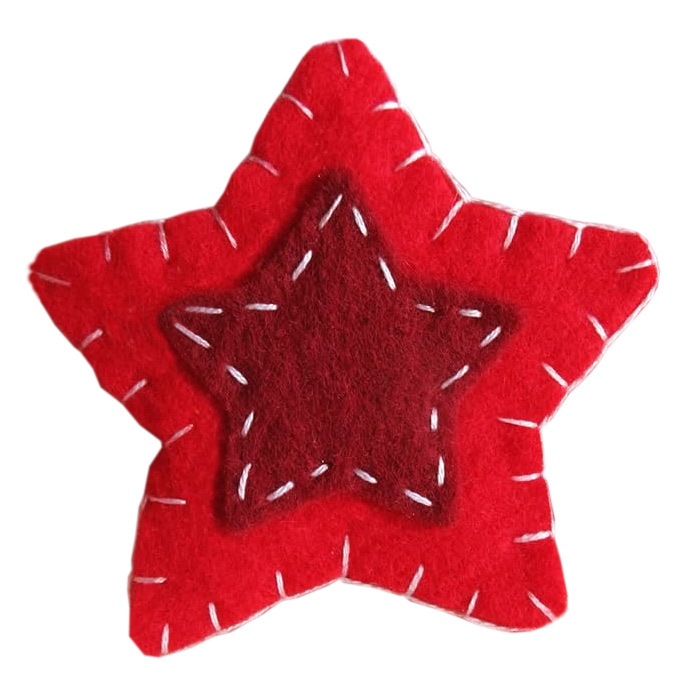
Felt Stars:
This felt star was created by covering a cardboard cutout and whip stitched around the edges. First cut your felt star covering. Cut a smaller star from a different color and baste it onto the center. Then whip stitch the star around the cardboard cutout. Cut a 5 1/2" piece of 1/8" ribbon or metallic cord and sew or glue to the tip of one of the points for a hanger.
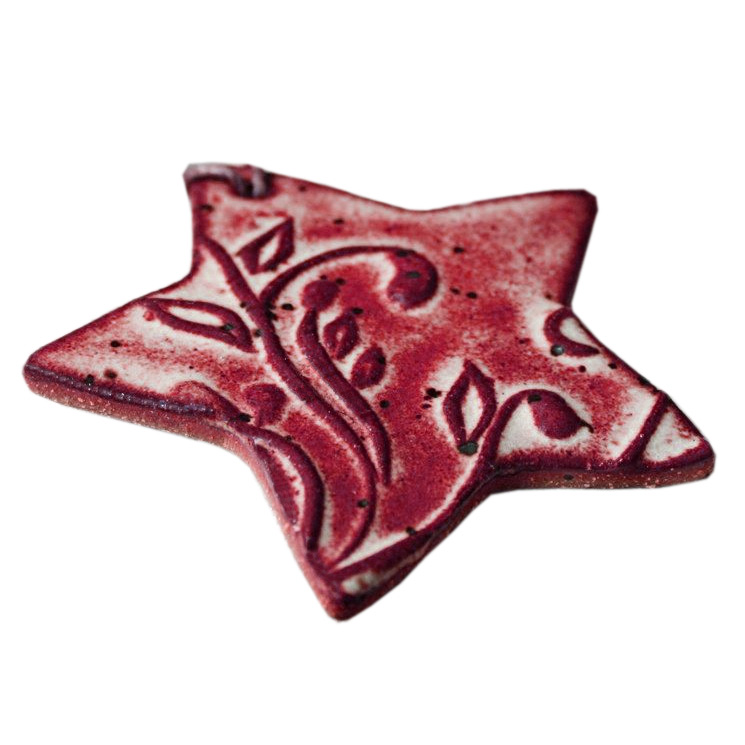
Painted Stars:
This is a fun star to make using wooden star cutouts. It has a sort of ceramic look to it. First drill a very small hole into 1 of the points and sand smooth. Omit this step if you prefer to glue your ornament hanger to your star. Using hot glue or other thick glue draw a pattern onto your star. This pattern can be letters, outlines of Christmasy things, flowers, or even random markings. Let dry completely. With your base color paint (we used white), paint the entire star, let dry. Dab a sponge or sponge brush into a second color (we used red) and dab on top of your glue markings to cover them completely and lightly onto most of the rest of the star. Cut a piece of 1/8" ribbon or metallic cord, thread into your hole and tie into a loop for a hanger.
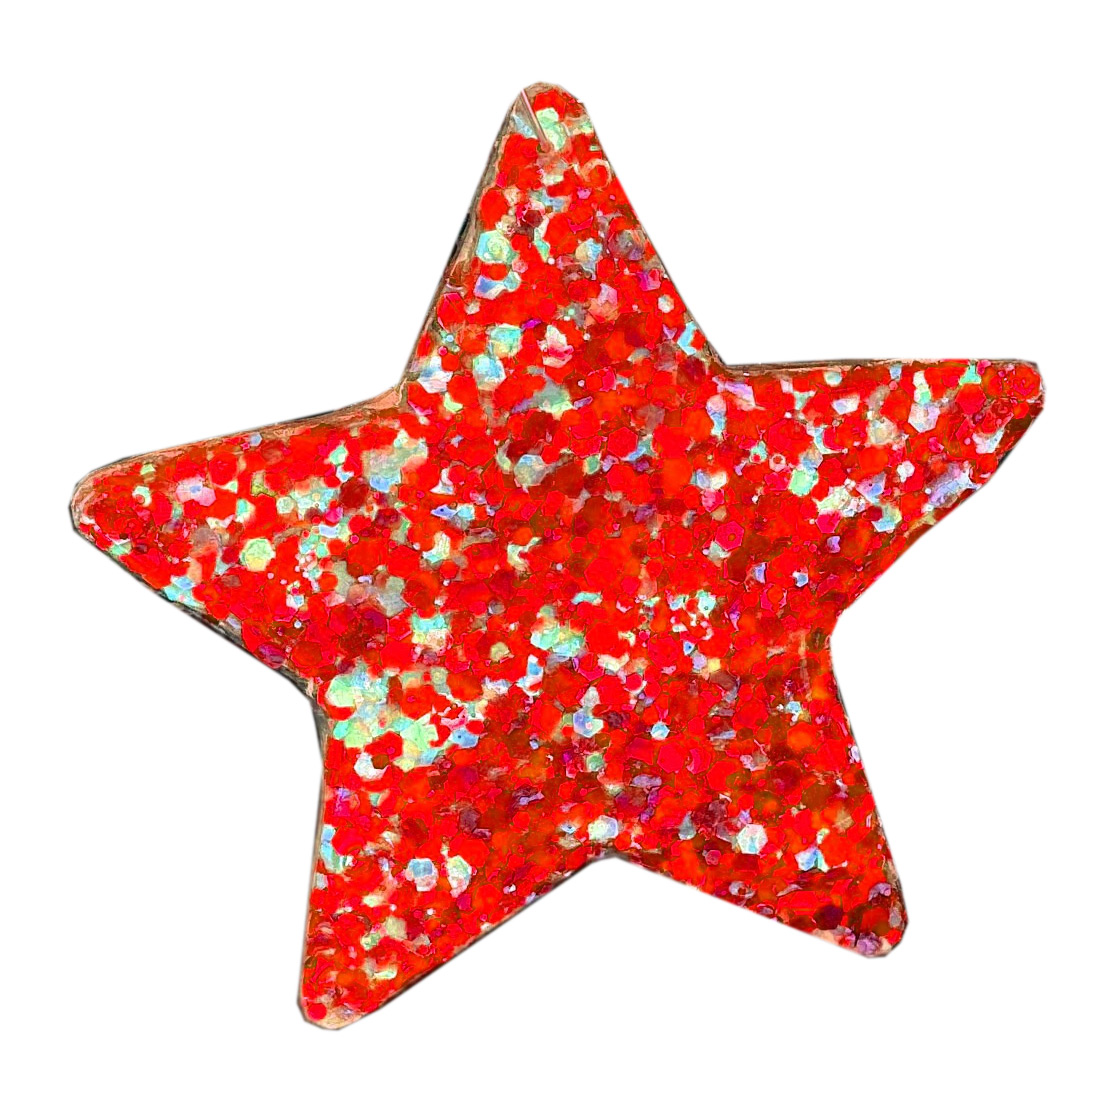
Glittered Stars:
Create this star by using either a wooden star cutout or a cardboard cutout. Choose any color of glitter you prefer. The beauty of this one is that you can use any style or size of glitter that you might have, or even a combination of glitter types! Pour glitter onto a paper plate with sides. You might even want to experiment with swirling 2 different colors of glitter on your plate. Next, smear a thin coat of glue all over one side of your star or use spray glue. Now carefully lay your star into the glitter that you added to the plate and press the star into the glue. Once it is dry you can repeat on the other side and on the edges. Cut a 5 1/2" piece of 1/8" ribbon or metallic cord and sew or glue to the tip of one of the points for a hanger.
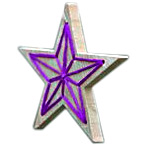
Yarn Stars:
To create this star, drill small holes in the center and on each point of a wooden star and sand smooth. Thread yarn through the holes to create the pattern in the photo. As an alternative you could drill a larger hole in the center of the star and with yarn, go through the center hole and around the outside of the star and back into the hole on the other side, until all or most of the star is covered in yarn. Cut a piece of 1/8" ribbon or metallic cord, thread into your hole and tie into a loop for a hanger.
Other Ornament Ideas:
Candy Canes - Twist red and white pipe cleaners together, barber pole style. Hook one end like a candy cane and hang on a tree limb.
Beaded Candy Canes - Another variation for candy canes is to thread tri beads onto a white chenille stem (pipe cleaner) alternating with red and white tri beads to desired length. Bend ends over last bead on each end and snip excess stem off. Bend into candy cane shape and hang. They will look good enough to eat!
Button Wreath - Cut a plastic lid into a doughnut shape (round with a hole in the middle). Glue on green and white buttons and hang with a red bow. Paint wooden stars with gold
glitter or wooden bells with silver glitter.


