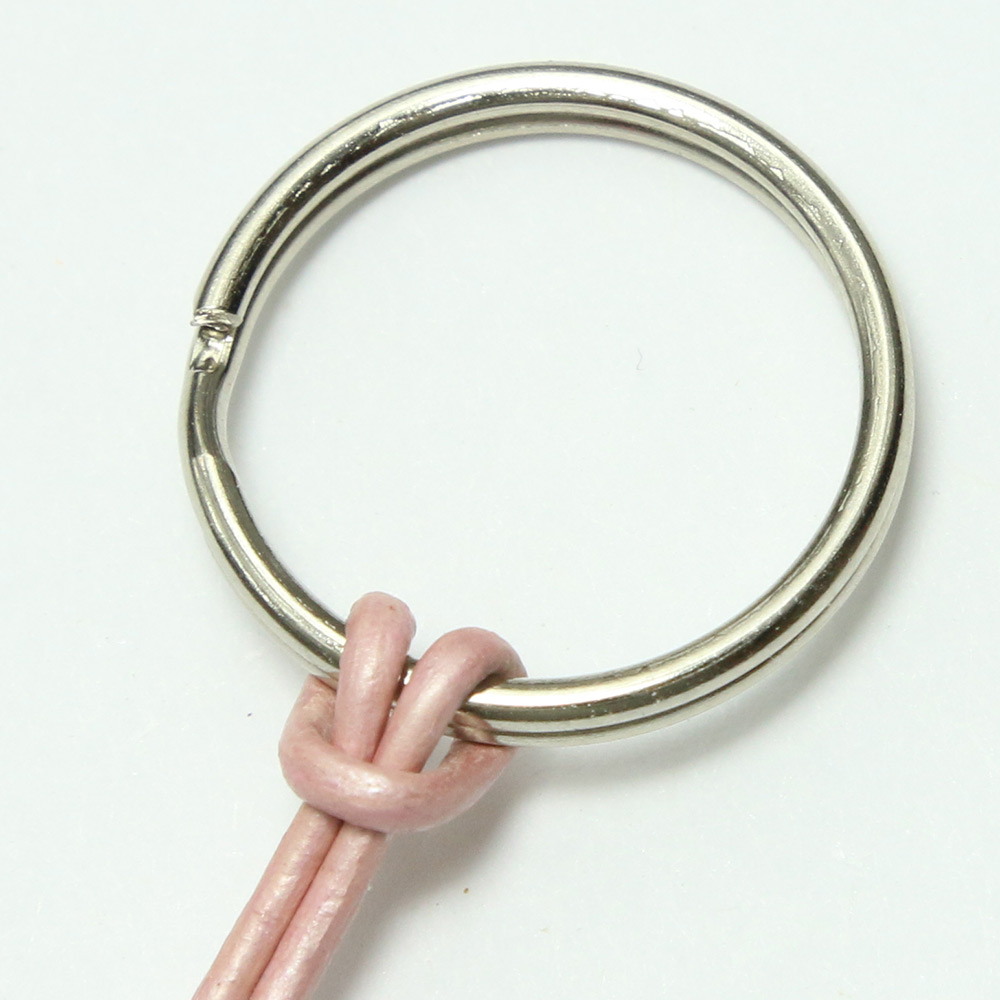
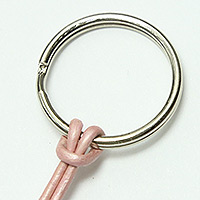
 1. Locate the halfway point of your cord or lacing and fold it in half. Attach the folded cord to your key ring, lanyard hook or other connector using a lark's head knot as shown in the photo. You should now have two cords hanging from your connector.
Note:Omit the previous step if you are using a different type of connector for your ornament. You will still want to fold your cord in half so you have two even lengths to begin weaving your beads.
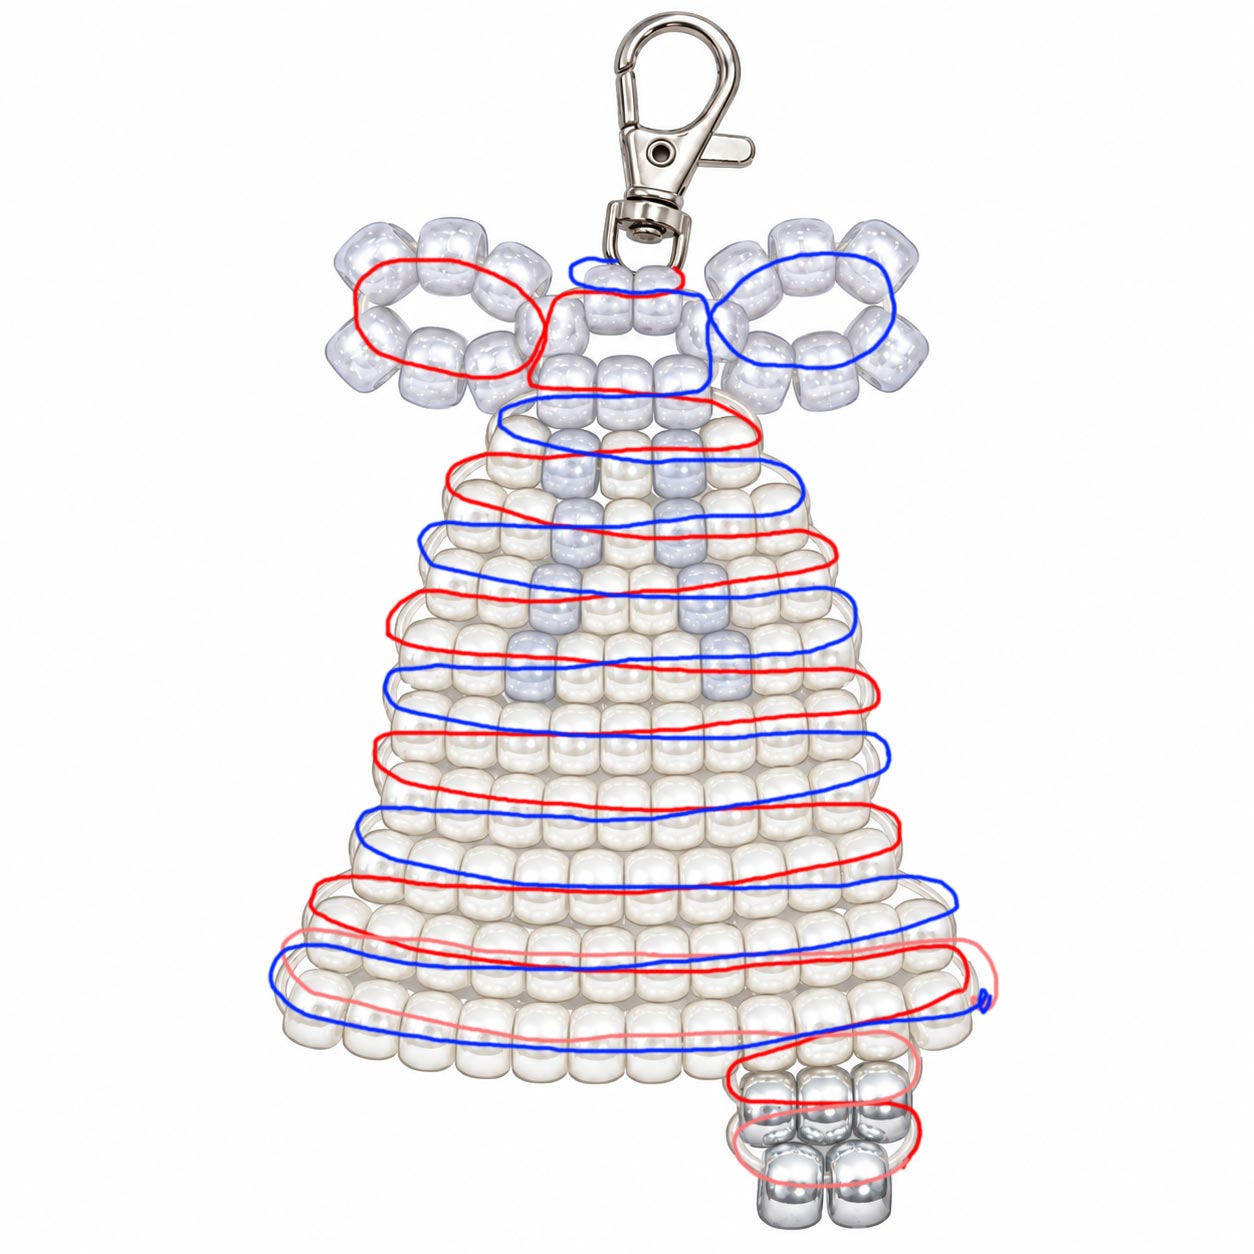
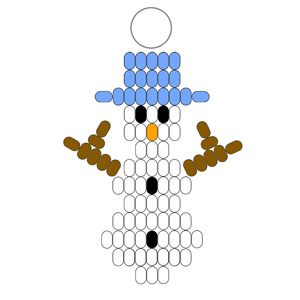
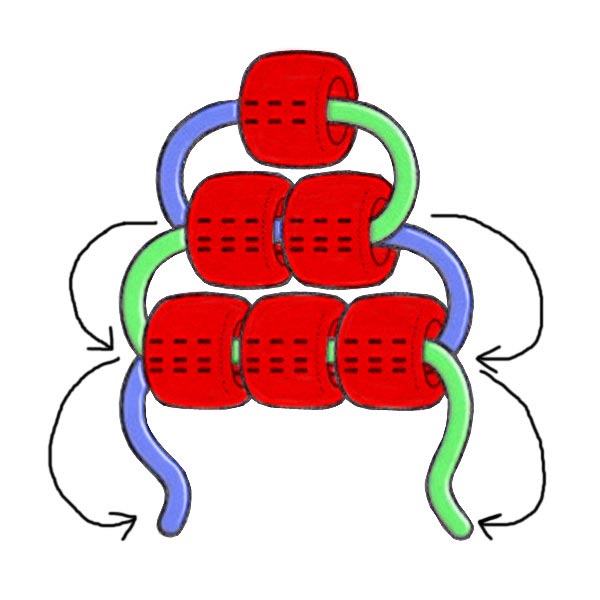 2. Using the beaded bell diagram at the bottom of these instructions as your guide, begin weaving the rows of beads from the top of the bell. Thread the beads for the first row onto one cord, then pass the other cord back through those same beads from the opposite direction, as shown in the illustration. Pull both cords until the beads sit neatly together.
Note: The tension of your cord does make a difference. The rows should sit snugly together without being pulled so tightly that your bell begins to curl or twist. If a row doesn't sit straight just loosen it, straighten the beads and pull the slack out again.
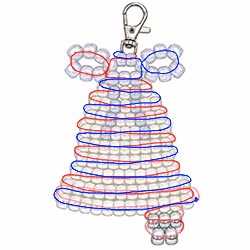
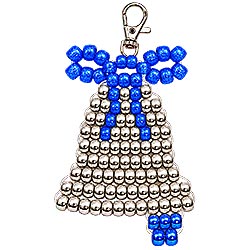
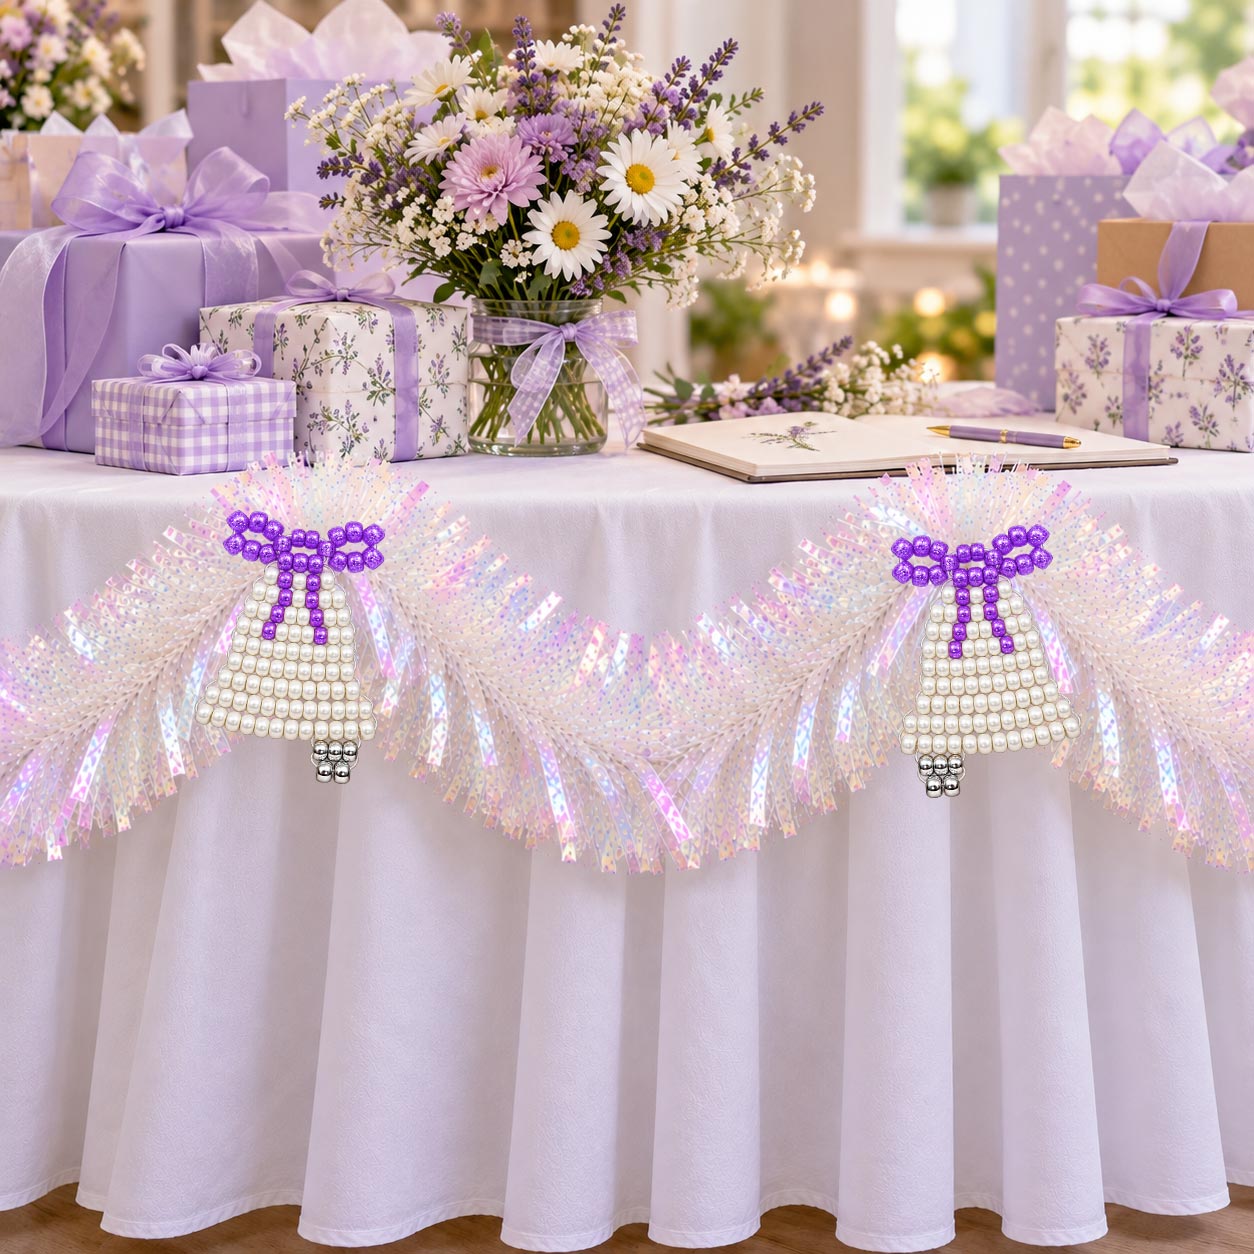
3. Continue working downward through the bell pattern, following the bead colors and cord paths in the diagram. The pattern includes the decorative bow at the top, the bell itself and the little clapper at the bottom.
4. As you already know, you can use different bead colors or finishes for the bow, bell and clapper. What you might not think about is how glitter, pearl, translucent and metallic finishes can change your bell's appearance substantially. Pairing the right colors can change a pretty diy Christmas ornament into a softly colored wedding or shower decoration. And changing to different colors for your bell could also be the perfect pop needed in your wreath.
Note: If your finished bell doesn't hold it's shape well you can weave a piece of pipe cleaner or wire through one of the widest rows to help it hold its shape.
5. I always try to make my tie-off knots as inconspicuous as possible. Sometimes that means doing a little extra weaving, so here are two ways to finish your beaded bell. You can decide which one you prefer:
- Tie off at the sides (two knots): Tie off each cord where it exits on either side of the ornament. Secure each knot with a small drop of glue.
- Tie off on one side (one knot): When you finish threading through the final row, thread one of the cords back through the previous row so that both cord ends end up on the same side of your project and next to each other. Tie the cords together securely using a surgeon's knot or a double knot. Apply a small drop of glue to the knot to prevent unraveling.
Trim the excess cord after the glue has dried.
Your beaded bell is now complete! You can hang it on a Christmas tree, add it to a wreath or garland, decorate a gift package or use it as part of your party decorations.
The illustration below uses red and blue to show you how each side of your cord is woven through the beads. It opens to a larger image if you click it.








 1 - Lanyard Hook
 1 - Key Ring
 Monofilament Cord
 2mm Metallic Cord
 73 - Pony Beads
 5 - Pony Beads
 27 - Pony Beads
 Glue
 Scissors
 Ruler or Measuring Tape
 Beading Wire
 Pipe Cleaners