| Place your ad or website information on every page of our website. Contact us for more details. |
|
|
| Your donations help us to be able to add more free craft patterns to this site for you. We Thank You. |
|
|
|
|
|
|
|
Christmas Pony Bead Elf Buddy Keychain and Ornament Pattern
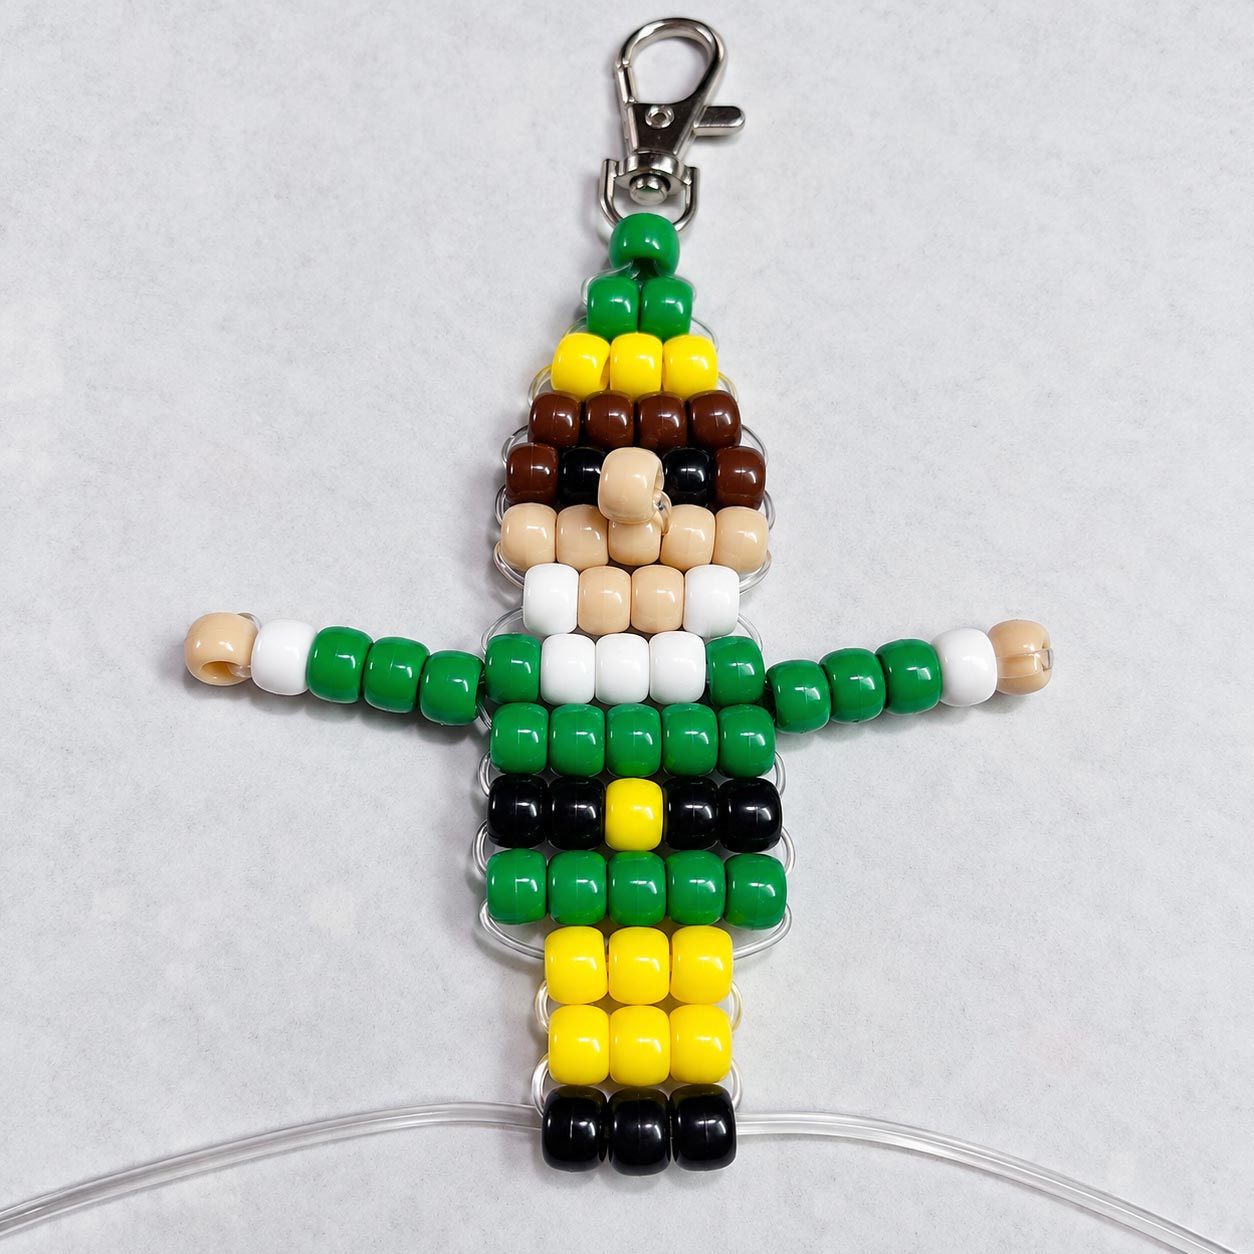
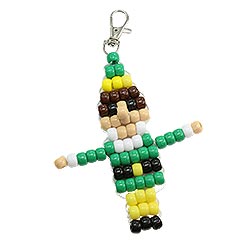
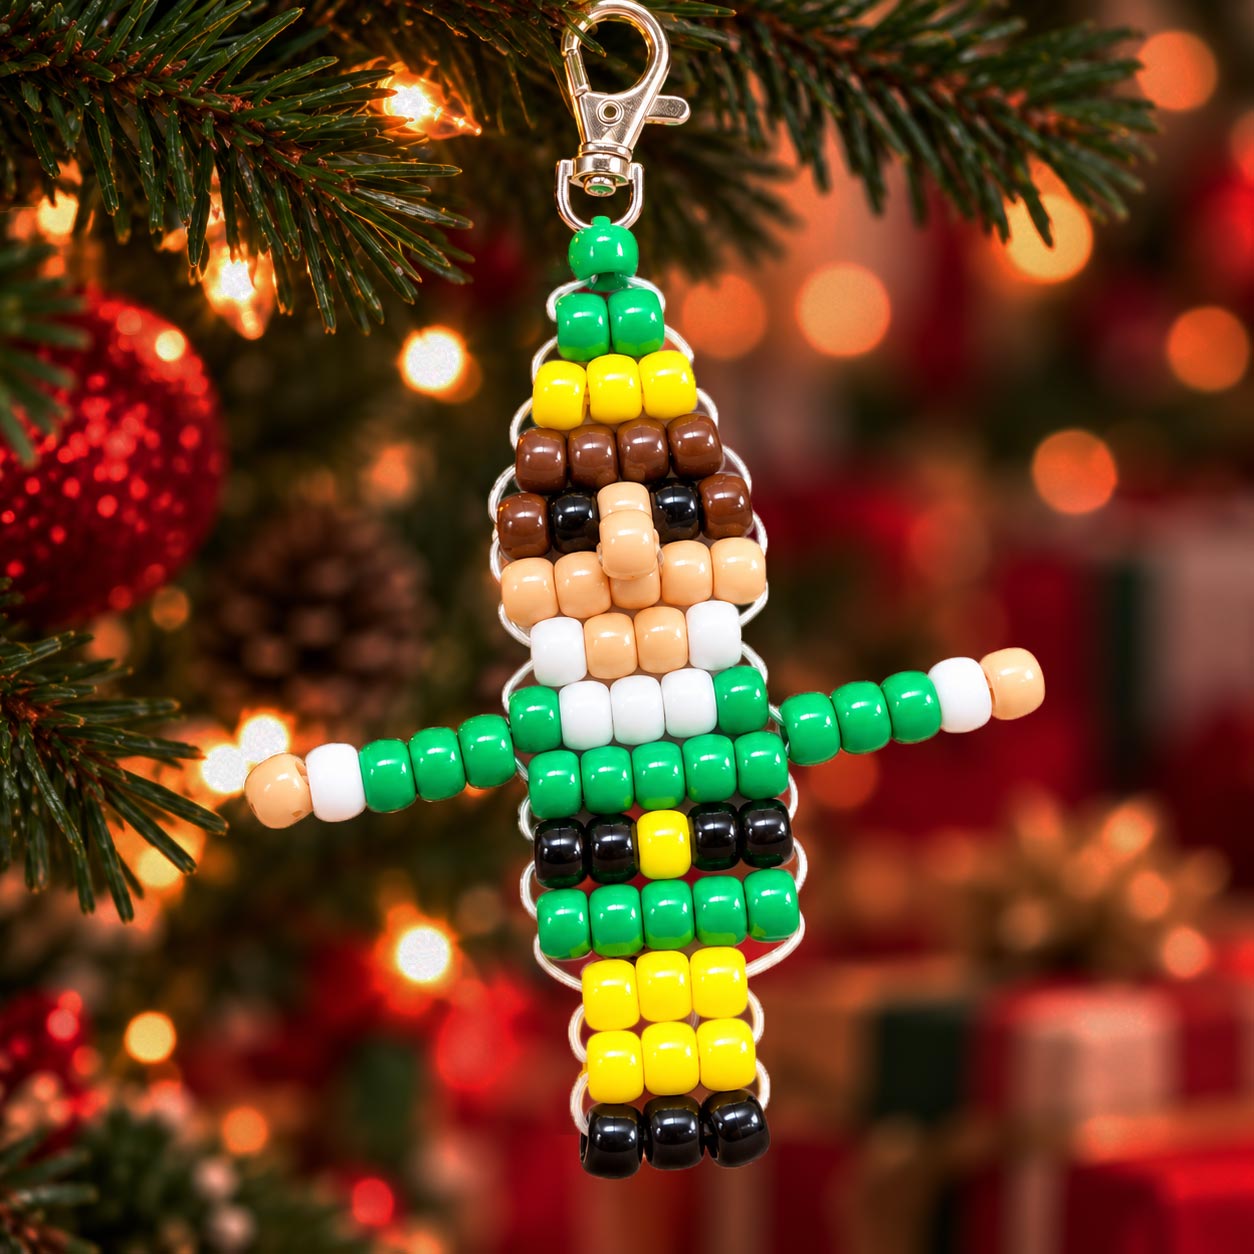
Add a little elf magic to your Christmas decorations with this adorable pony bead elf buddy! Dressed in his pointed green hat, bright yellow outfit and tiny black shoes, this cheerful little fellow is ready to find a special place on your Christmas tree. Make one as a handmade elf ornament, create a whole family of colorful Christmas elves, or place one into a stocking as a delightful little surprise. These playful beaded elf buddies are a fun way to add a personal, homemade touch to your holiday decorating!
Let your imagination have some fun! Change the hair colors, hats and outfits to give each elf buddy his own personality. This little elf can find plenty to do once he's finished. Hang them on a Christmas tree, attach them to wrapped gifts, brighten a holiday wreath, or combine them with Santa, reindeer, snowmen, Christmas trees and other festive characters for a collection of handmade Christmas ornaments. They're also a wonderful project for family craft time, classroom activities or making holiday decorations with friends. Prefer something you can carry everywhere? Add a key ring and turn your elf into a cheerful Christmas keychain or backpack decoration.
Follow our free elf buddy pattern to create your own little Christmas elf ornament, then have fun finding the perfect place to display him!
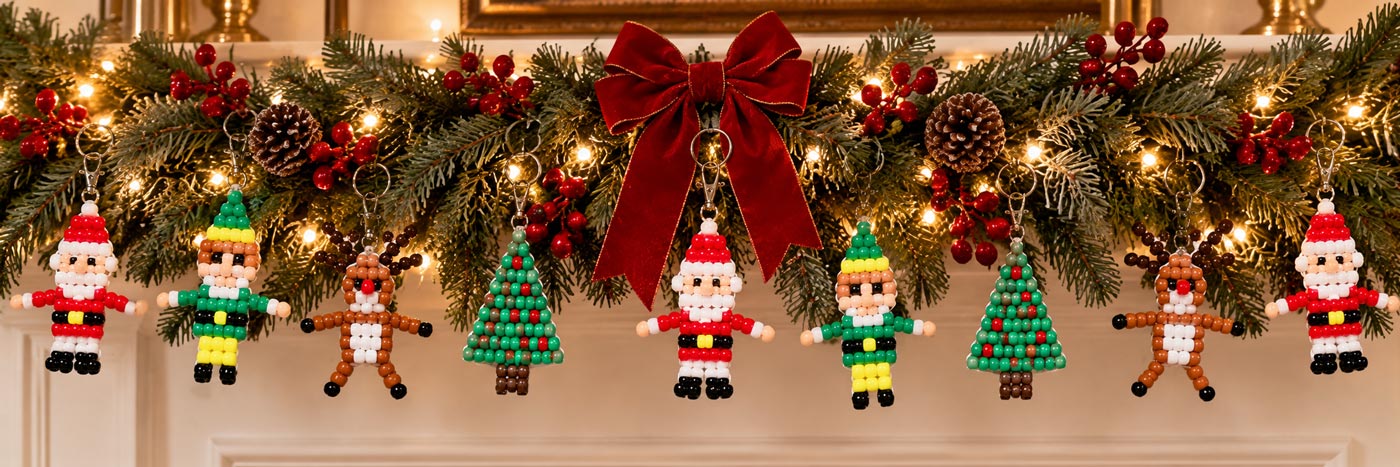
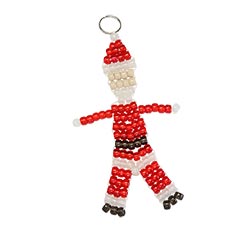
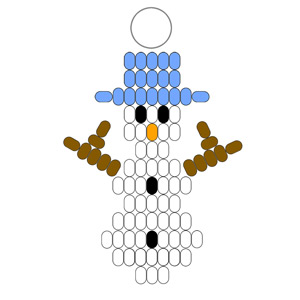
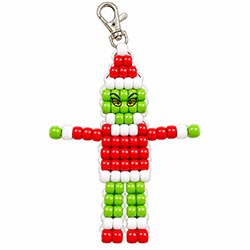
Here is a fun idea for taking these easy to make characters to another level. Combine several Christmas pony bead characters into a handmade garland, holiday swag or ornament strand. Mix Santas with elves, reindeer, grench, Christmas trees and other holiday designs, then hang them from ribbon or cord, place them into greenery, or space them along a strand of Christmas lights. A beaded Christmas garland can drape across a mantel or doorway, decorate a wall or window, or wrap around a Christmas tree. It could even become a group project, with each person making a different character to add to the finished Christmas decoration.
|
Here is a fun idea for taking these easy to make characters to another level. Combine several Christmas pony bead characters into a handmade garland, holiday swag or ornament strand. Mix Santas with elves, reindeer, grench, Christmas trees and other holiday designs, then hang them from ribbon or cord, place them into greenery, or space them along a strand of Christmas lights. A beaded Christmas garland can drape across a mantel or doorway, decorate a wall or window, or wrap around a Christmas tree. It could even become a group project, with each person making a different character to add to the finished Christmas decoration.
|
|
|
|
| Note: For your convenience and to assist you in being able to locate the material required for this project, some or all of the materials listed may be linked to other websites or contain affiliate links. All links in the material list will open into a new window so that you don't lose this pattern page. |
Materials Needed:
|
|
|
|
|
|
|
Instructions
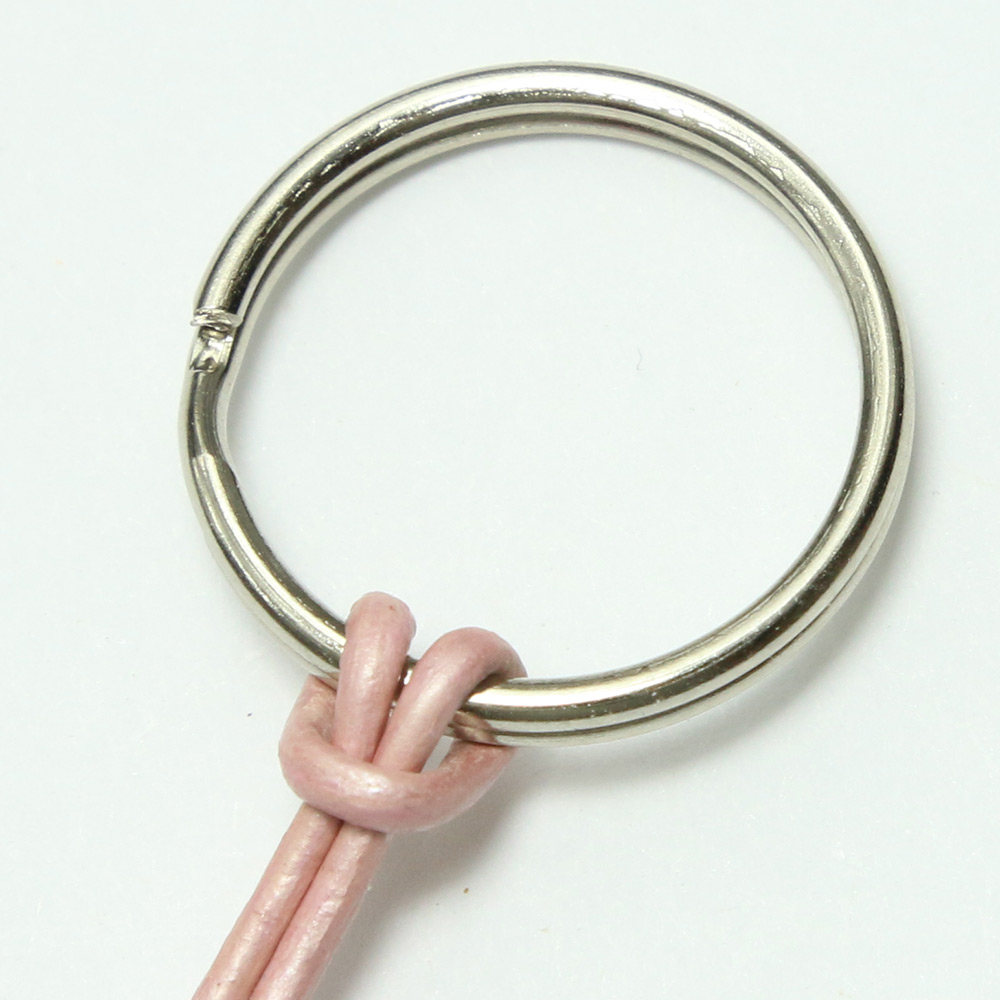
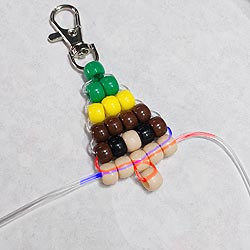
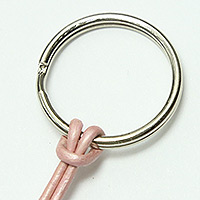 1. Locate the halfway point of your cord or lacing and fold it in half. Attach the folded cord to your key ring using a lark's head knot as shown in the photo. You should now have two cords of about the same length hanging from the key ring. 1. Locate the halfway point of your cord or lacing and fold it in half. Attach the folded cord to your key ring using a lark's head knot as shown in the photo. You should now have two cords of about the same length hanging from the key ring.
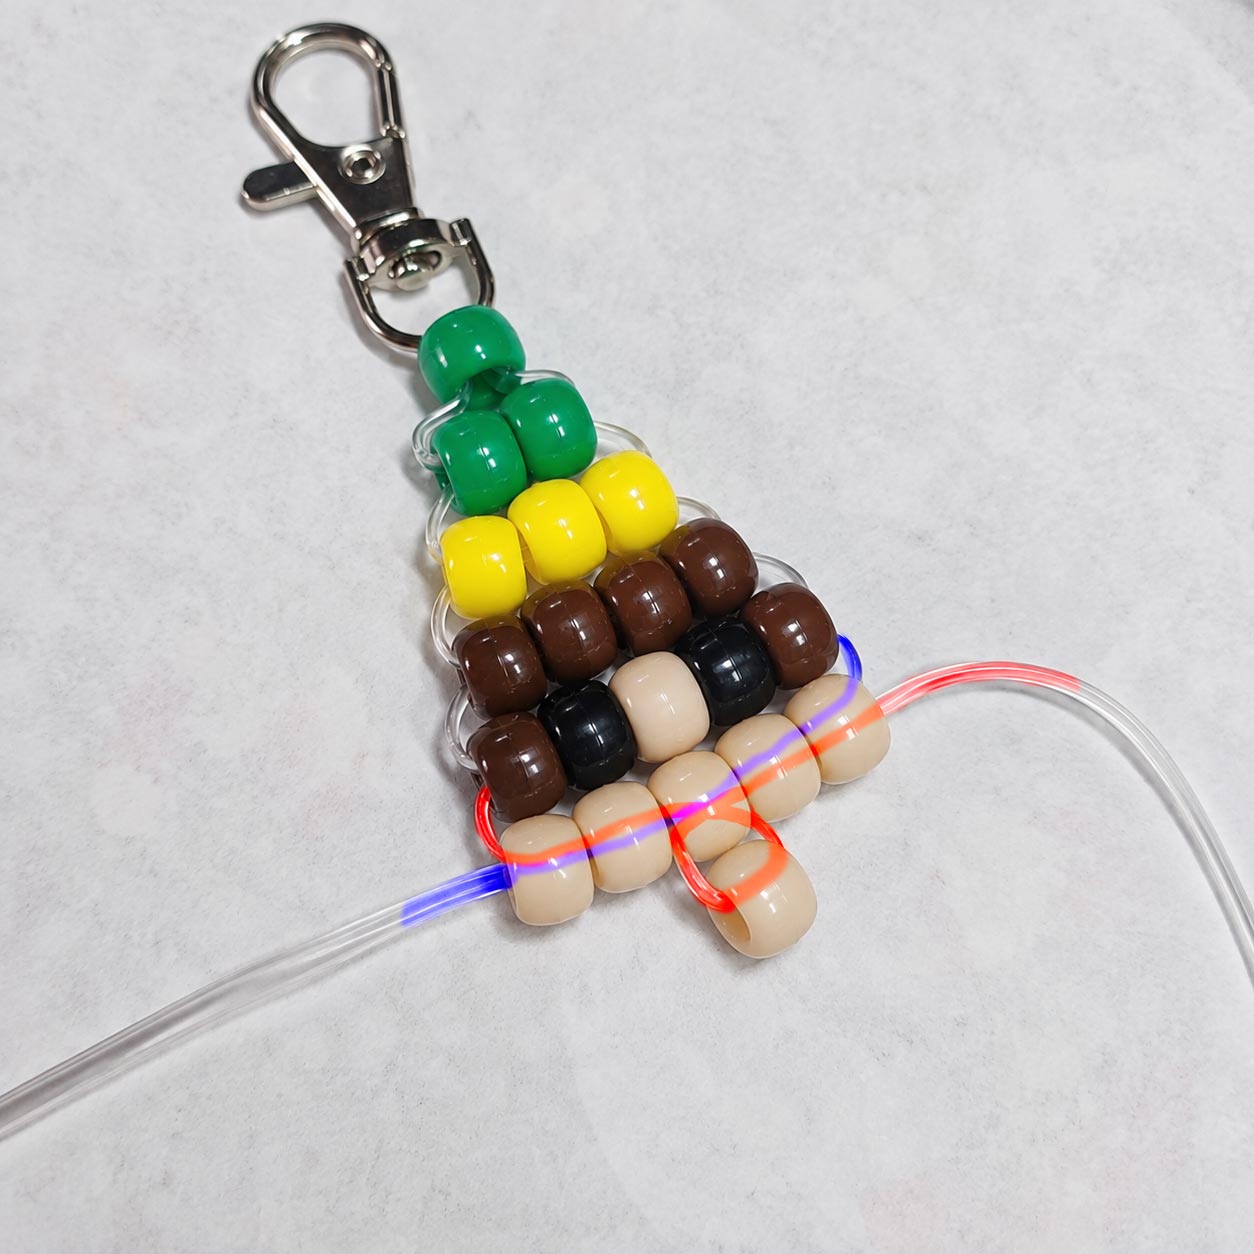
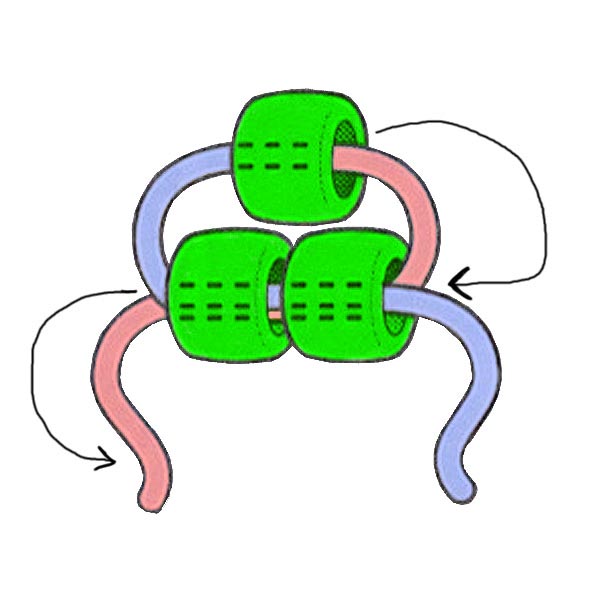 2. Using the Christmas pony bead elf pattern diagram located at the bottom of these instructions, begin weaving the rows of beads one row at a time. Pass one cord through the row of beads, then pass the other cord through the same beads from the opposite direction as shown in the illustration. Pull both cords until the new row rests against the previous one. 2. Using the Christmas pony bead elf pattern diagram located at the bottom of these instructions, begin weaving the rows of beads one row at a time. Pass one cord through the row of beads, then pass the other cord through the same beads from the opposite direction as shown in the illustration. Pull both cords until the new row rests against the previous one.
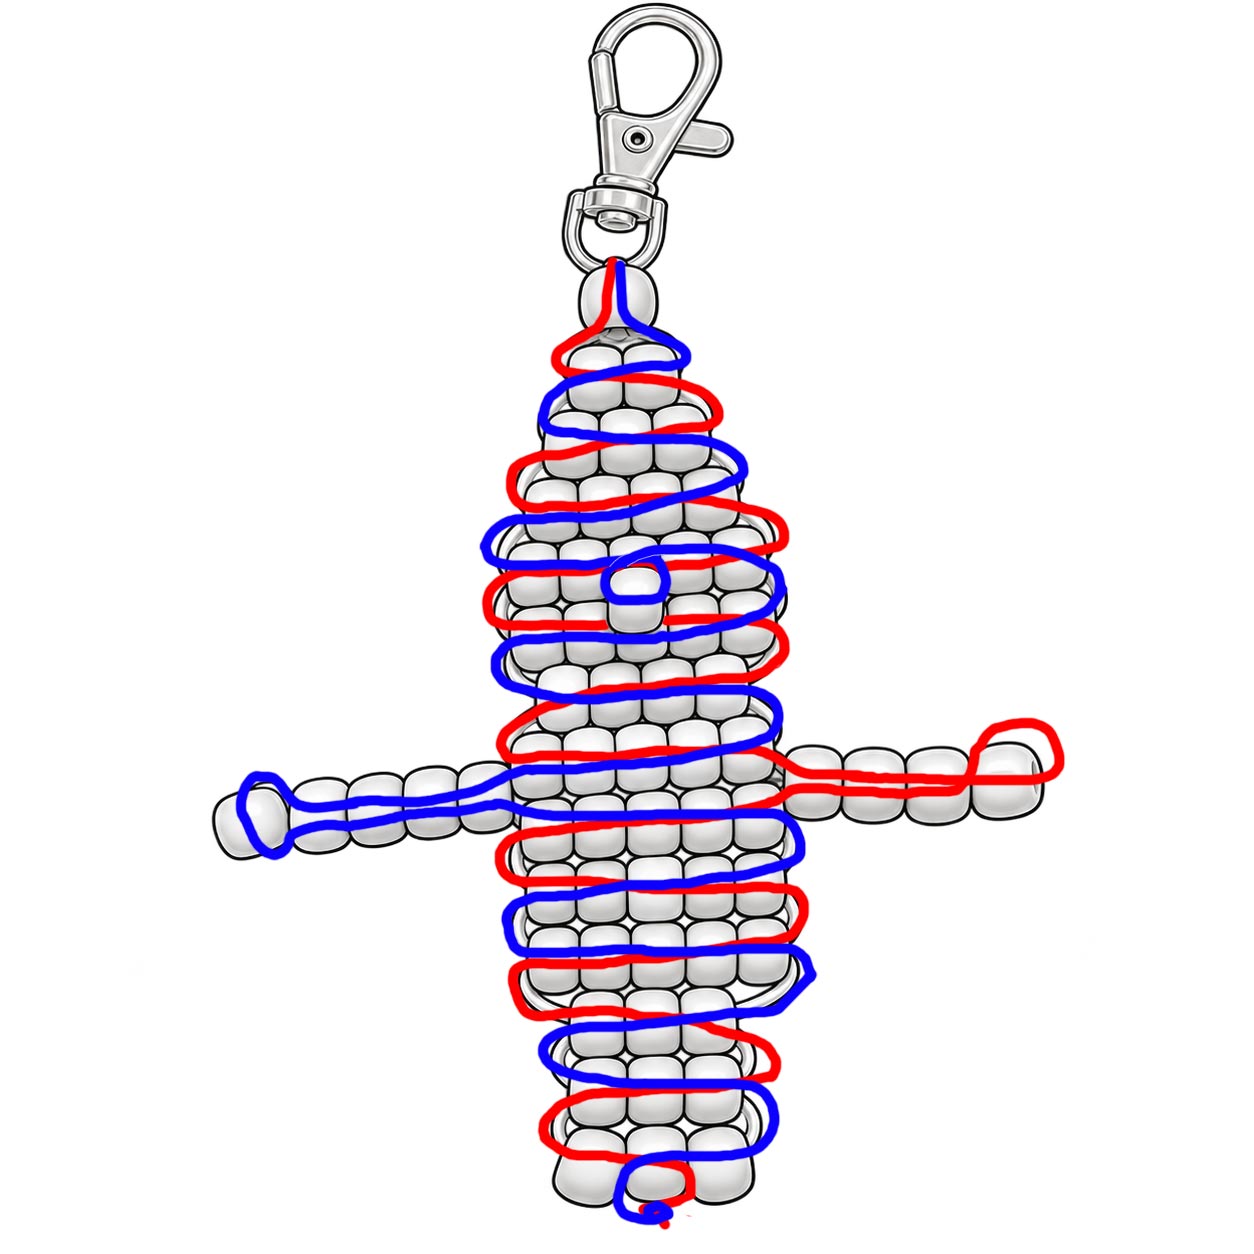
 3. Continue following the Elf pattern from the top of his hat downward, to the nose. There is a little bit of difference where his nose goes. One side of your cord will pass through the row as usual. The other side of the cord, represented with the blue in the diagram, will go through the first 3 beads of the row, come out to the front, add another beige bead and then loop right back into the same 3rd bead and continue to the end of the row. This bead ends up sitting on the outside of the row. It will probably take a little working with the cord to get it to sit where it should in proportion to his face. Be sure to pull out the slack that sometimes happens on steps like this. 3. Continue following the Elf pattern from the top of his hat downward, to the nose. There is a little bit of difference where his nose goes. One side of your cord will pass through the row as usual. The other side of the cord, represented with the blue in the diagram, will go through the first 3 beads of the row, come out to the front, add another beige bead and then loop right back into the same 3rd bead and continue to the end of the row. This bead ends up sitting on the outside of the row. It will probably take a little working with the cord to get it to sit where it should in proportion to his face. Be sure to pull out the slack that sometimes happens on steps like this.
Note: The tension of your cord does make a difference. The rows should sit snugly together without being pulled so tightly that your elf begins to curl or twist. If a row doesn't want to sit straight, loosen it slightly, straighten the beads with your fingers and then pull the slack out again.
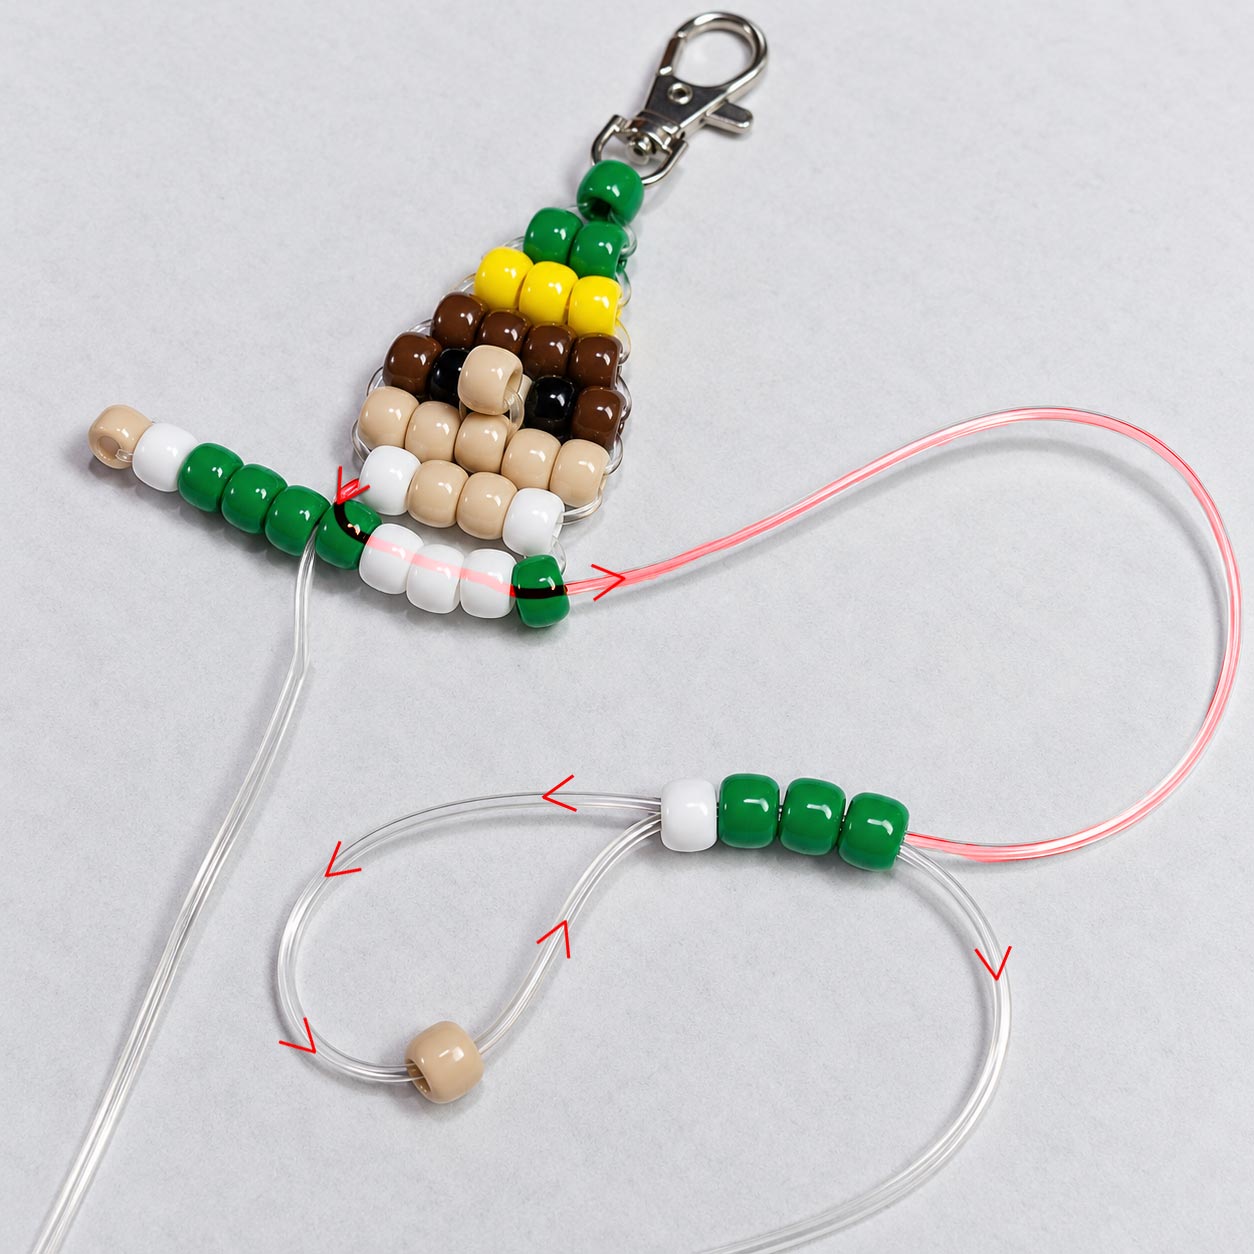
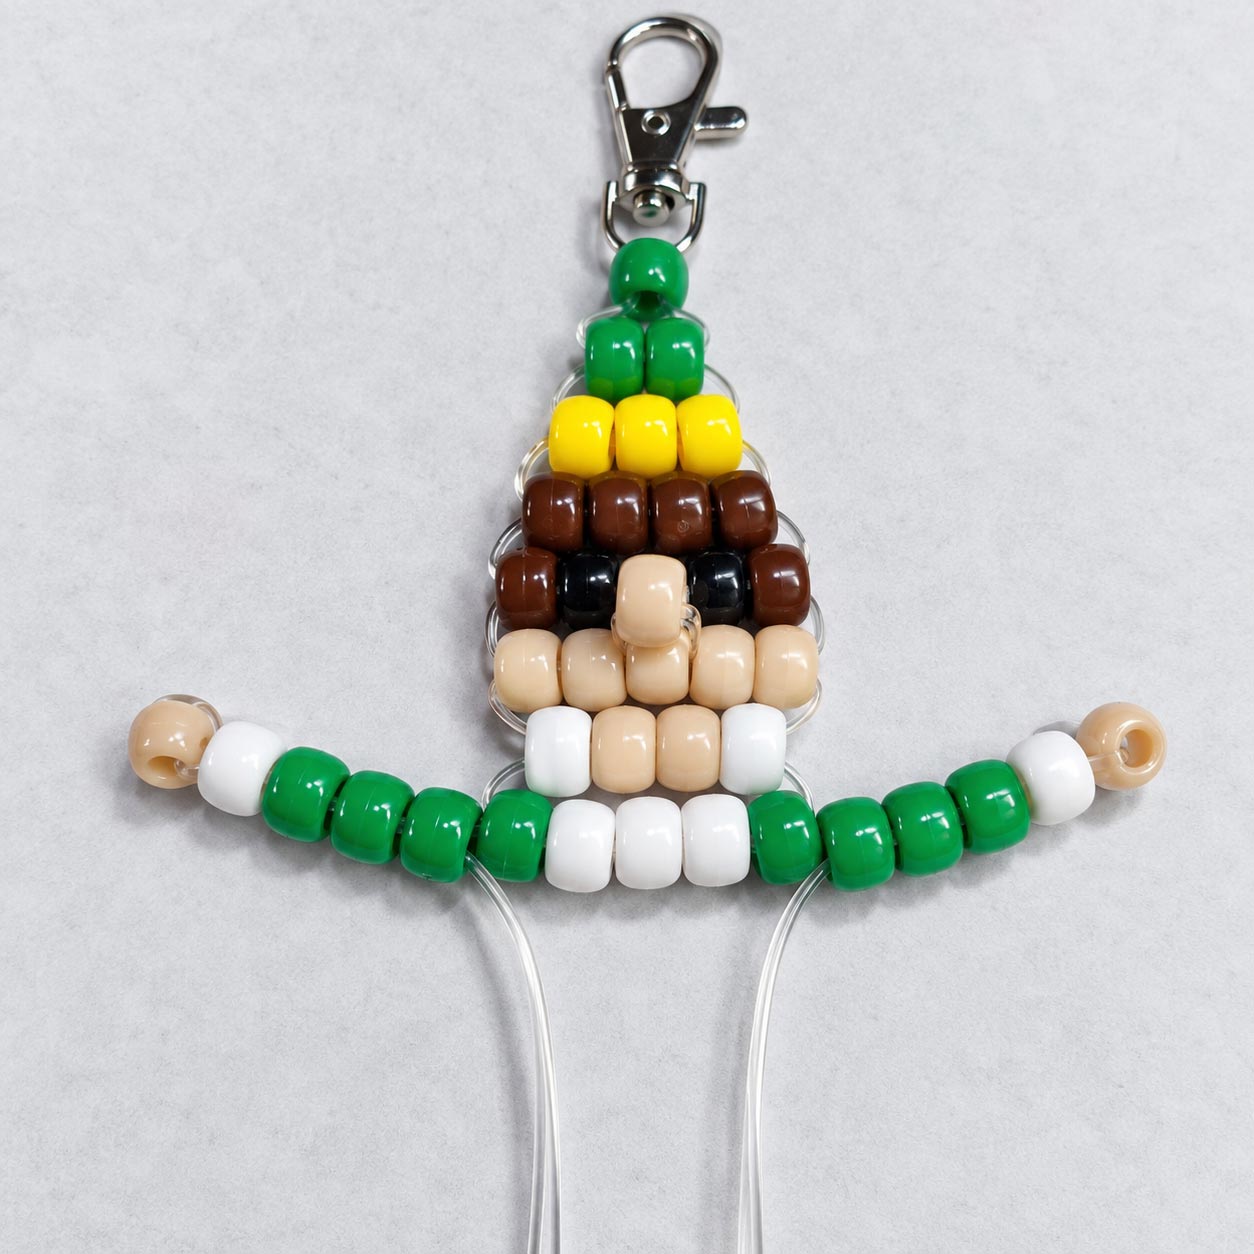
4. His arms are done using a single cord strand. Feed the 5 beads onto your cord. At the end loop your cord around the outside of the beige bead and feed it back through the other 4 beads, all the way back to the body. Repeat with the other cord for the other arm.
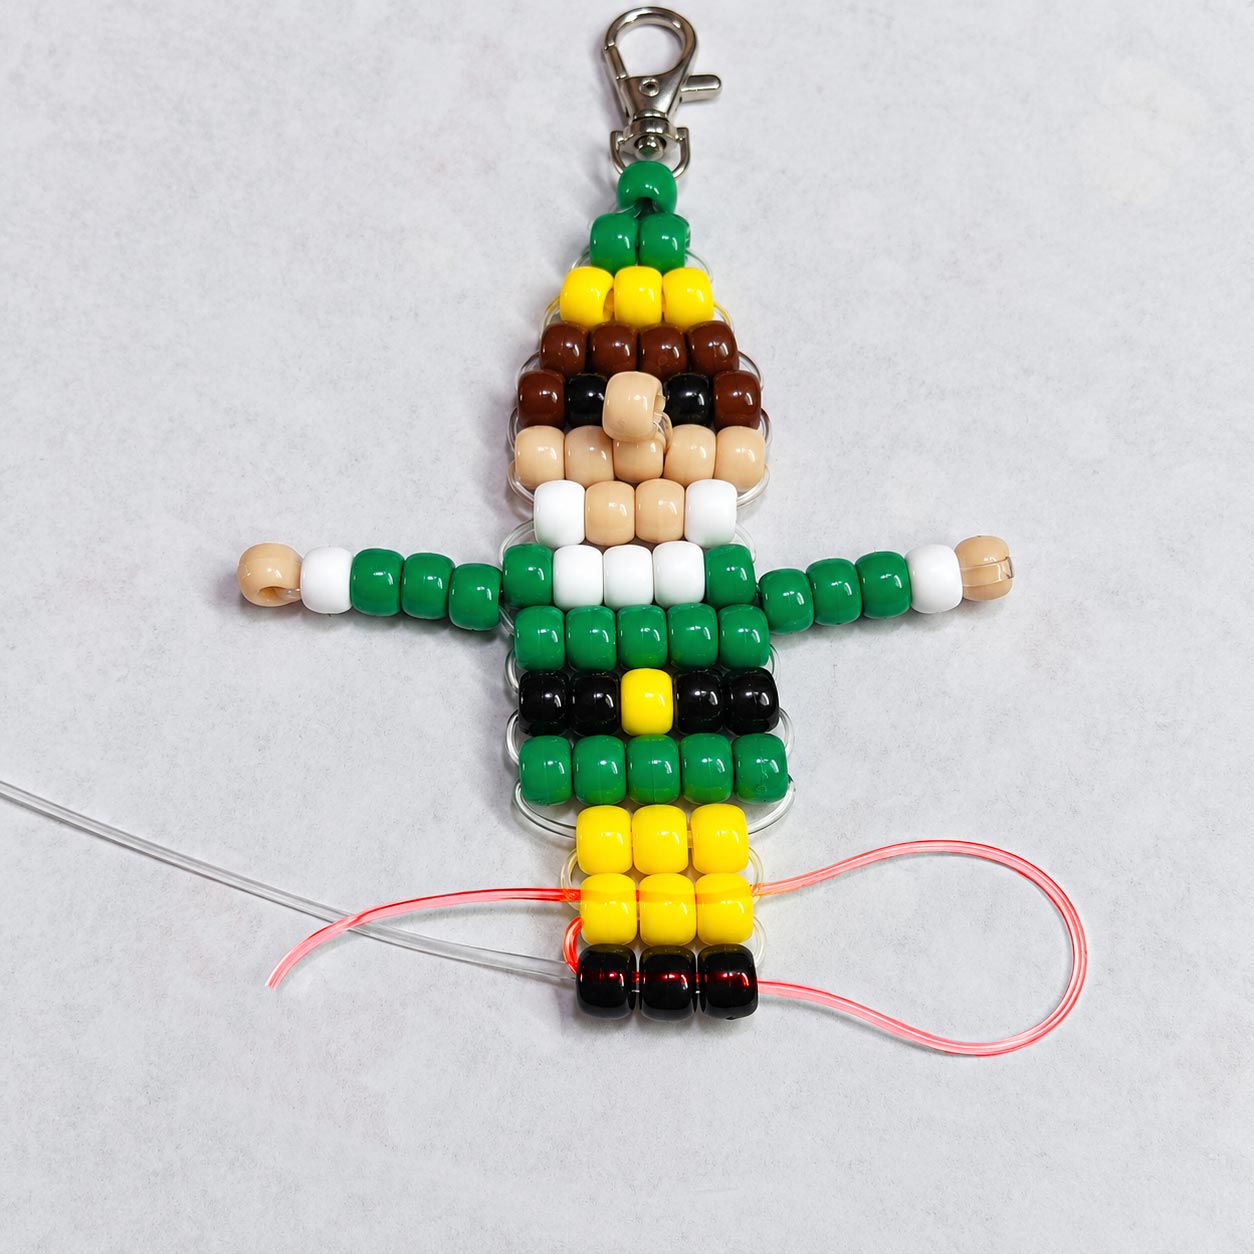
5. Continue to the bottom of the elf ornament pattern. I like to finish these keychains so that the least amount of knotting shows so with this in mind, on the last row, feed each cord through only 2 of the 3 beads. Both cords will end up on each side of the center bead. Pull out the slack and tie together at the center bead.
Below are two options for finishing your elf decoration. You can bring the cords out on opposite sides as shown in the first photo and tie them off separately, or follow the alternate cord path shown in the second photo to bring both ends out together and finish with one knot, making the knot less prominent.
6. Tie the cords together securely with a surgeon's knot or a good double knot. Add a small drop of craft glue to the knot to prevent it from coming undone during normal usage. Let the glue dry, then trim away the excess cord.
The diagram below uses blue and green to show the paths of the two ends of the cord. Click the diagram to open a larger version whenever you need a closer look.
Your Christmas elf is ready to spread a little holiday cheer! Hang him on your Christmas tree as a handmade pony bead ornament, add him to a wreath or gift package, or display him with your favorite holiday decorations. Add a key ring to make an elf keychain or backpack charm that you can enjoy all season long. Try different colors to create a whole family of cheerful elves, or combine them with Santa, reindeer, Christmas trees and other beaded characters for a festive collection of handmade Christmas ornaments.
|
|
|
|
|
More Christmas Pony Bead Patterns
Looking for more Christmas pony bead projects?
Here are more free patterns to make for ornaments, keychains
and handmade Christmas decorations.
|
| Please Read: After you have finished with this free pattern won't you please be kind and say thank you by clicking on just one of the sponsors on this page. It doesn't cost you anything and any revenue generated also helps you because it allows us to be able to share this site with you at no charge and to be able to add more patterns and helpful information for you. We sincerely thank you! |
| Subjects and Terminology Related to this Pattern: elf ornament, elf decorations, xmas elf decorations, elf ornament craft, diy elf ornament, diy elf christmas ornaments, elf ornaments to make, beaded elf ornament, pony bead elf, pony bead elf ornament, pony bead elf keychain, beaded christmas elf, christmas crafts with pony beads, pony bead christmas ornaments, christmas ornaments with pony beads, handmade elf decorations |
|
|
|
|




 21 - Green Pony Beads
 10 - Yellow Pony Beads
 6 - Brown Pony Beads
 9 - Black Pony Beads
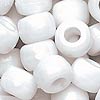 7 - White Pony Beads
 11 - Beige or Tan Pony Beads
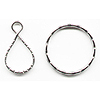 1 - Key Ring
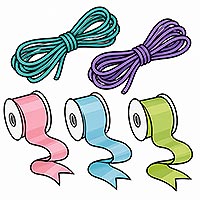 5 feet
 Scissors
 Ruler or Measuring Tape
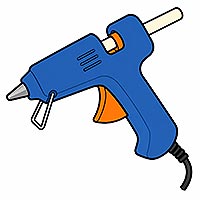 Craft Glue