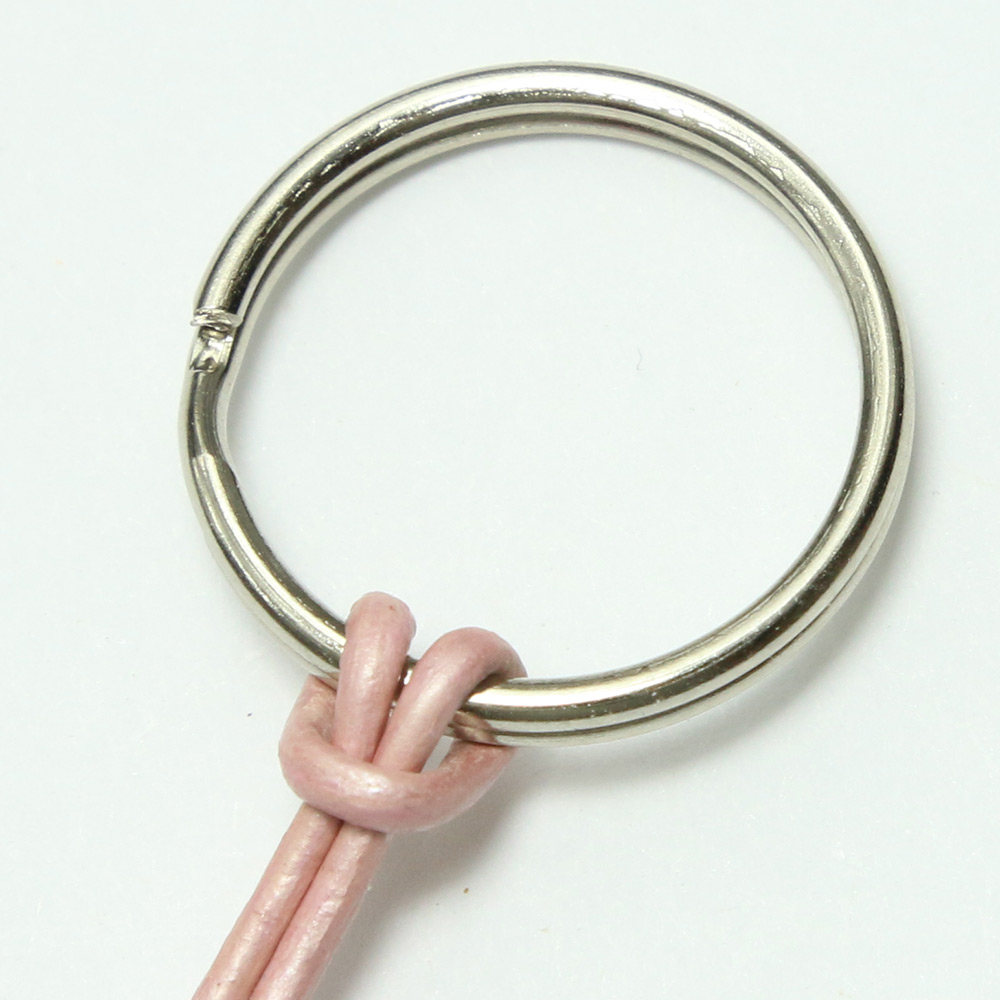
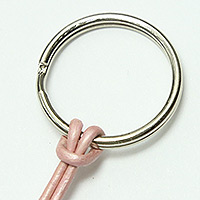
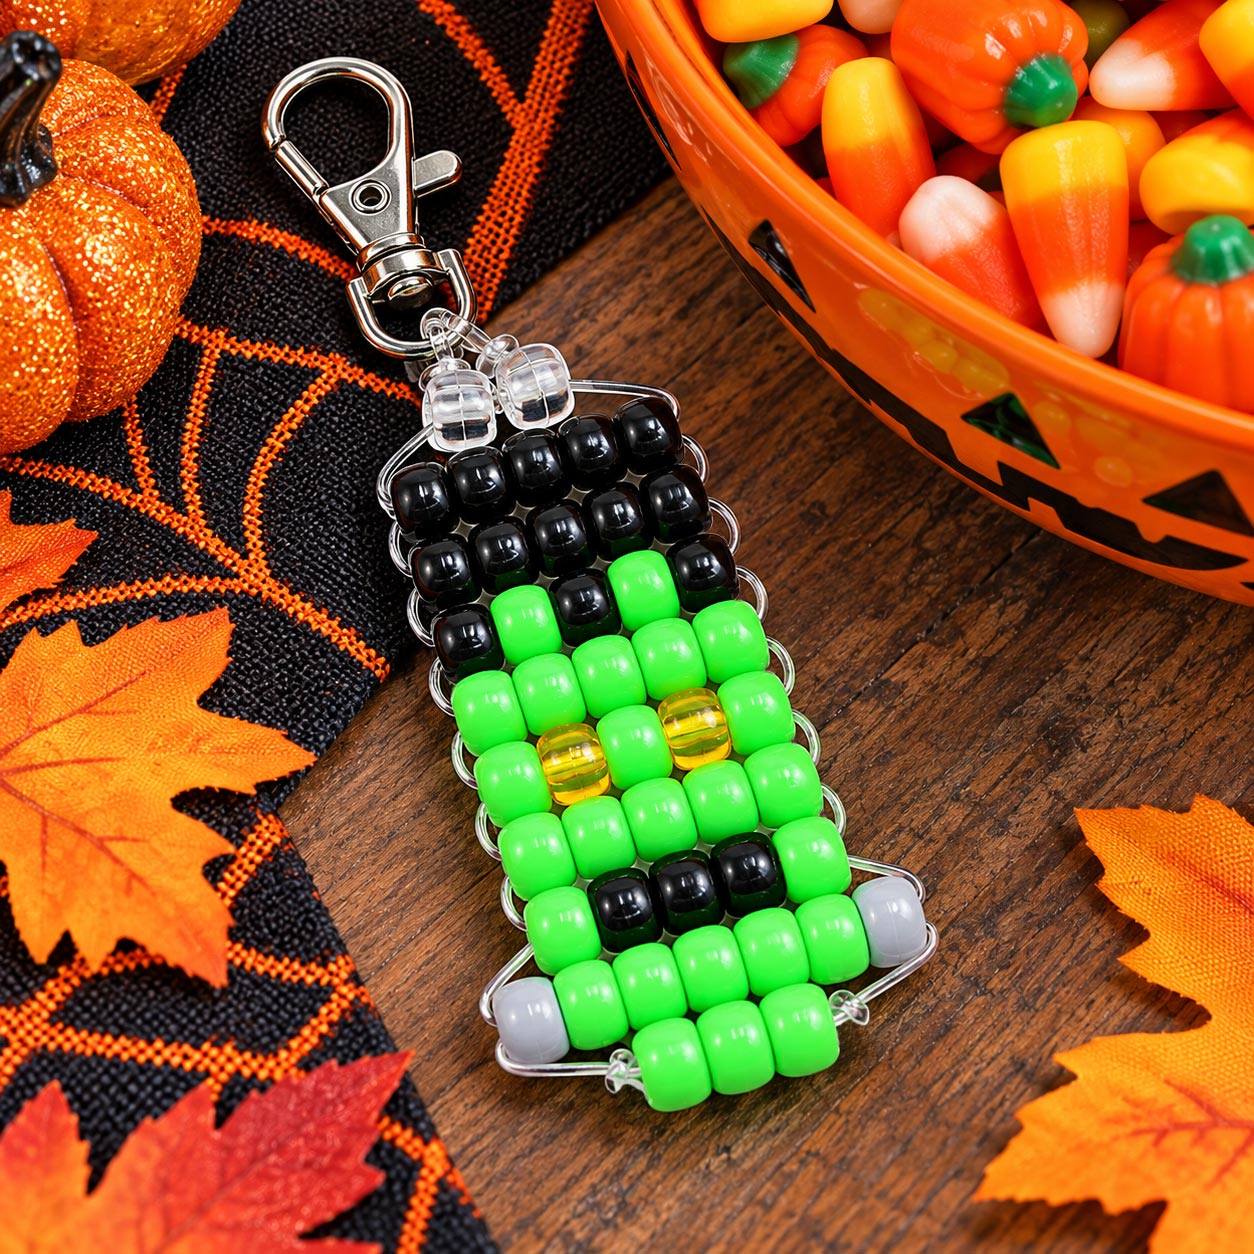
 1. Locate the halfway point of your cord or lacing and fold it in half. Attach the folded cord to your key ring or lanyard hook using a lark's head knot as shown in the photo. You should now have two cords of about the same length hanging from the key ring.
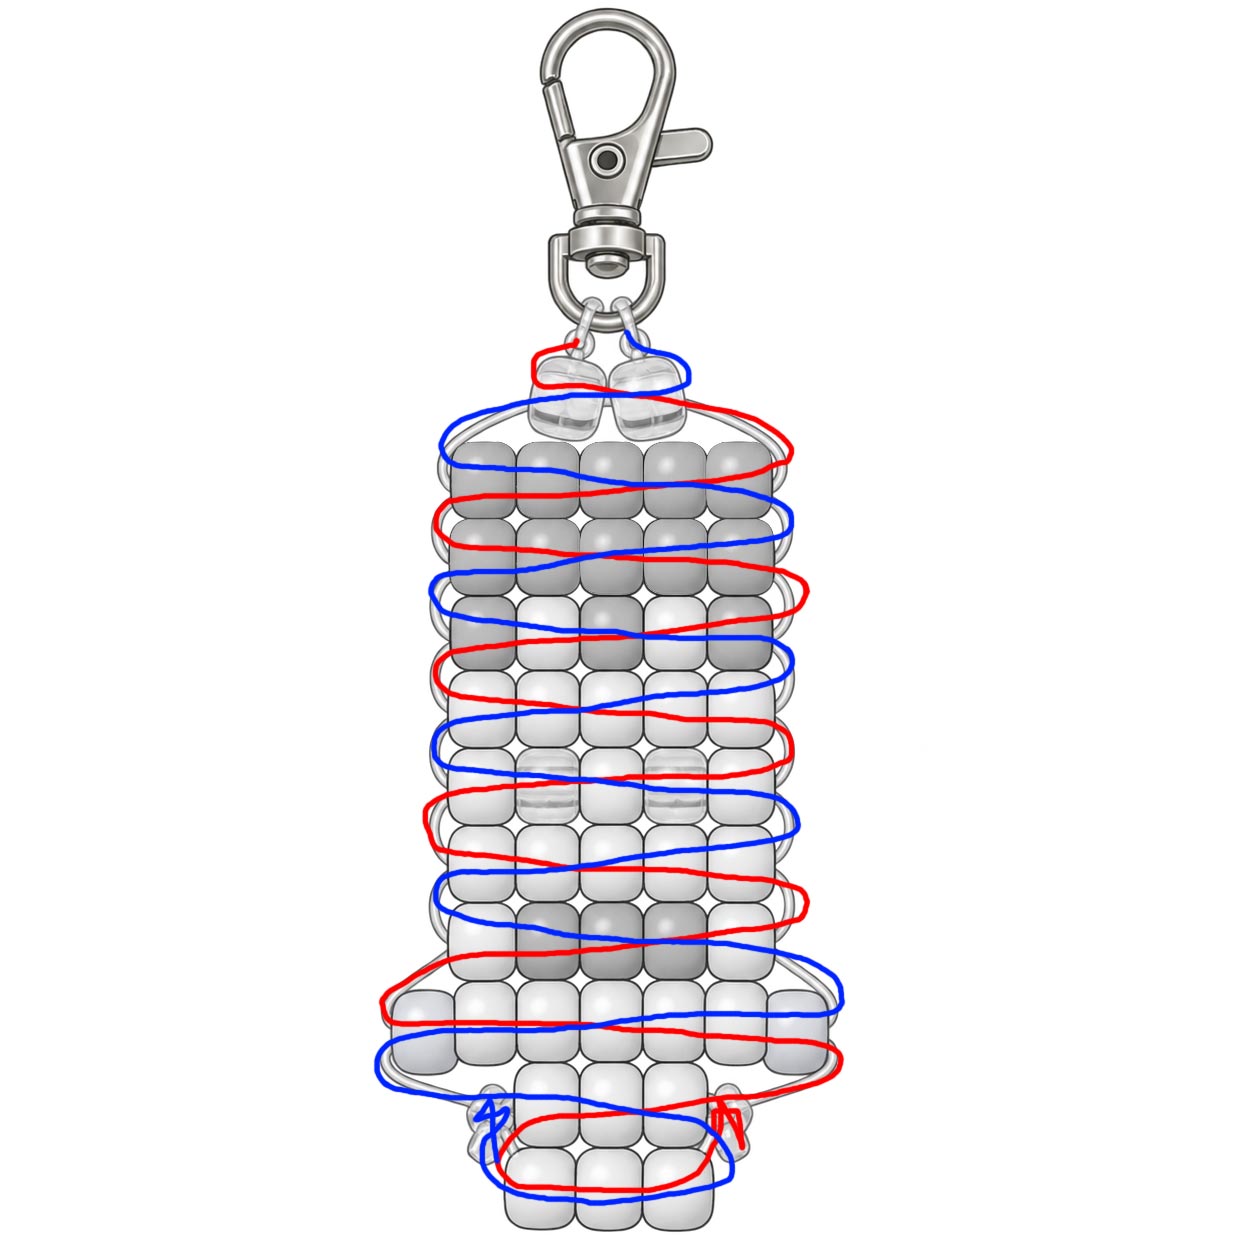
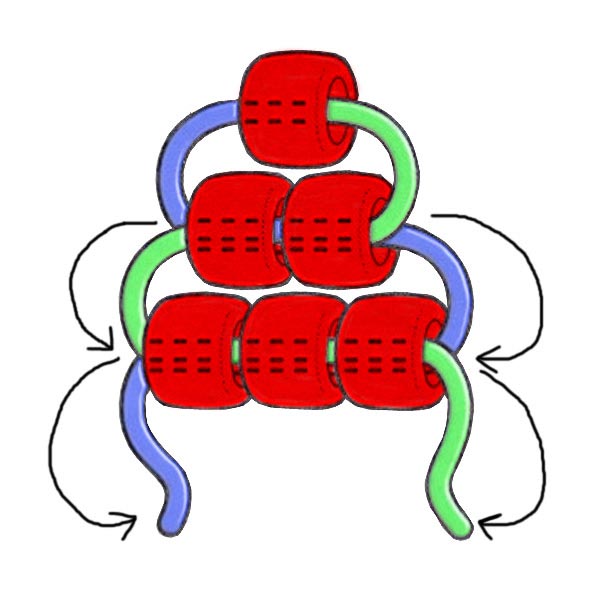 2. Using the bead diagram for the Frankenstein keychain below, begin weaving the rows of beads. Pass one cord through the row of beads, then pass the other cord through the same beads from the opposite direction as shown in the illustration. Pull both cords until the new row rests against the previous one.
Start with a row of 2 clear pony beads. These beads aren't really part of Frankenstein's face, so we're using clear beads to help them sort of blend in and be ignored. This is actually a little beading hack I discovered along the way. If you start with a row of 4 beads, the top of the keychain tends to curl quite a bit. But adding that little row of 2 clear beads first helps stop the curling problem and doesn't try to become a part of your Frankenstein craft.
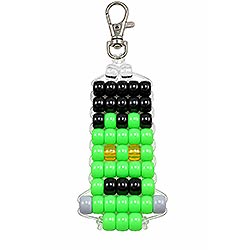
Continue following the diagram, adding one row at a time to form Frankenstein's hair, face, eyes, mouth, and neck.
The diagram below shows how the two ends of the cord are threaded through the beads to make your Frankenstein pony bead keychain. The red and blue lines help you follow each cord as it passes through the beads. Click the diagram to open a larger version in a new window whenever you need a closer look.
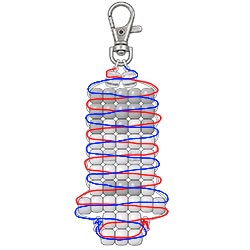
3. When you've finished weaving your Frankenstein keychain, tie the two cord ends to the cord above it using a double knot or surgeon's knot. Apply a little glue to each knot to prevent the knots from coming untied. Once the glue has dried, trim the excess cord.
You can also try making this Frankenstein pattern with smaller beads, such as seed beads or E beads, to create a little Halloween charm or jewelry pendant.




 1 - Key Ring
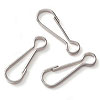 1 - Lanyard Hook
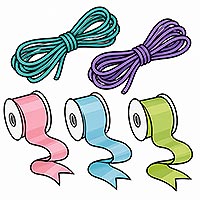 5 ft - Cording
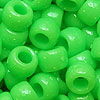 25 - Green Pony Beads
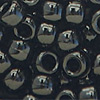 16 - Black Pony Beads
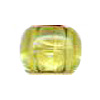 2 - Yellow Pony Beads
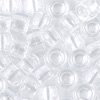 2 - Clear Pony Beads
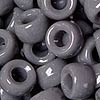 2 - Gray Pony Beads

 Glue
Glue