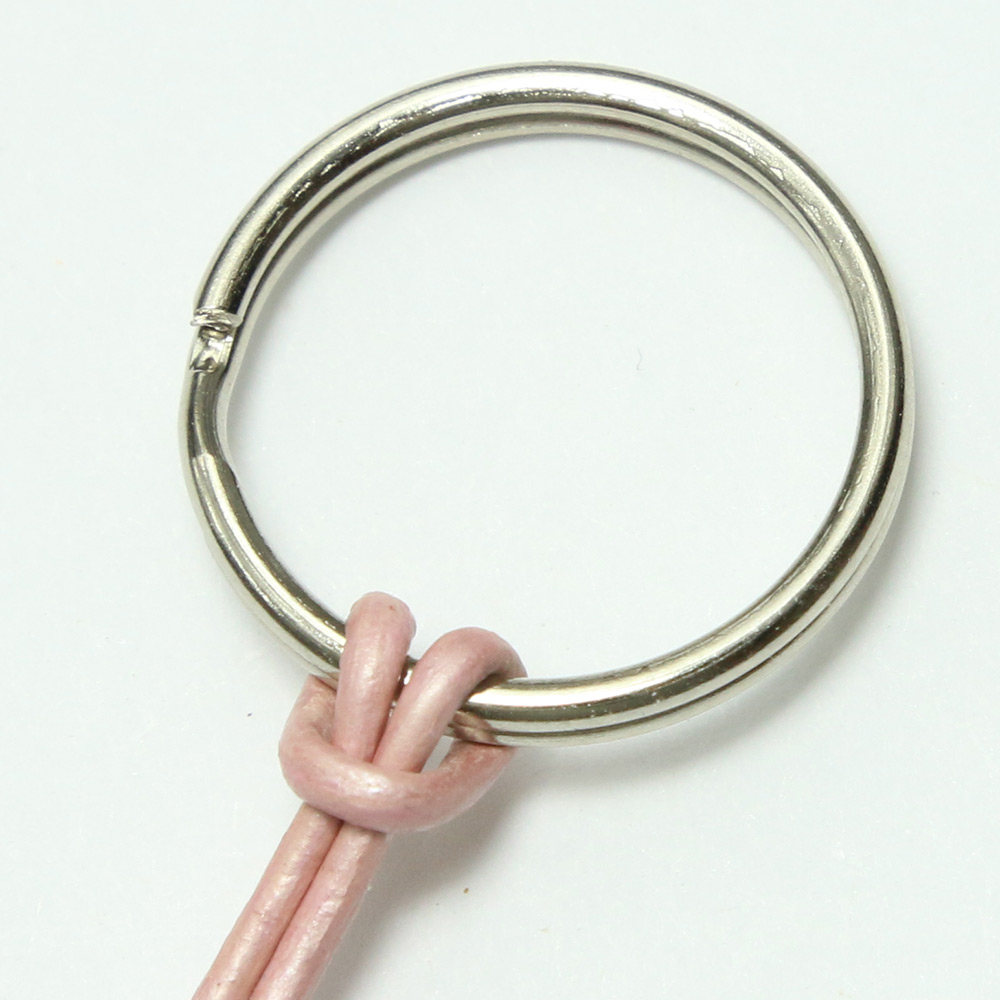
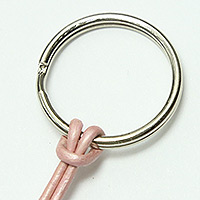
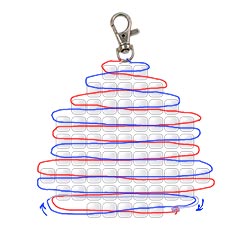
1. Cut a piece of cord or lacing approximately 5 feet long. Attach it to your key ring or lanyard hook using a lark's head knot, as shown in the illustration below. Adjust the cord so you have two ends of equal length.
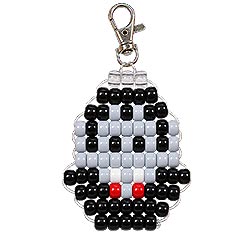
2. Start with a row of 3 clear pony beads. These beads aren't really part of Dracula's head, so we're using clear beads to help them sort of blend in and be ignored. This is a little beading hack I discovered along the way. Starting with a wide row of beads can make the top of a keychain curl, but adding a smaller row of clear beads first helps prevent that problem without becoming a noticeable part of your vampire craft.
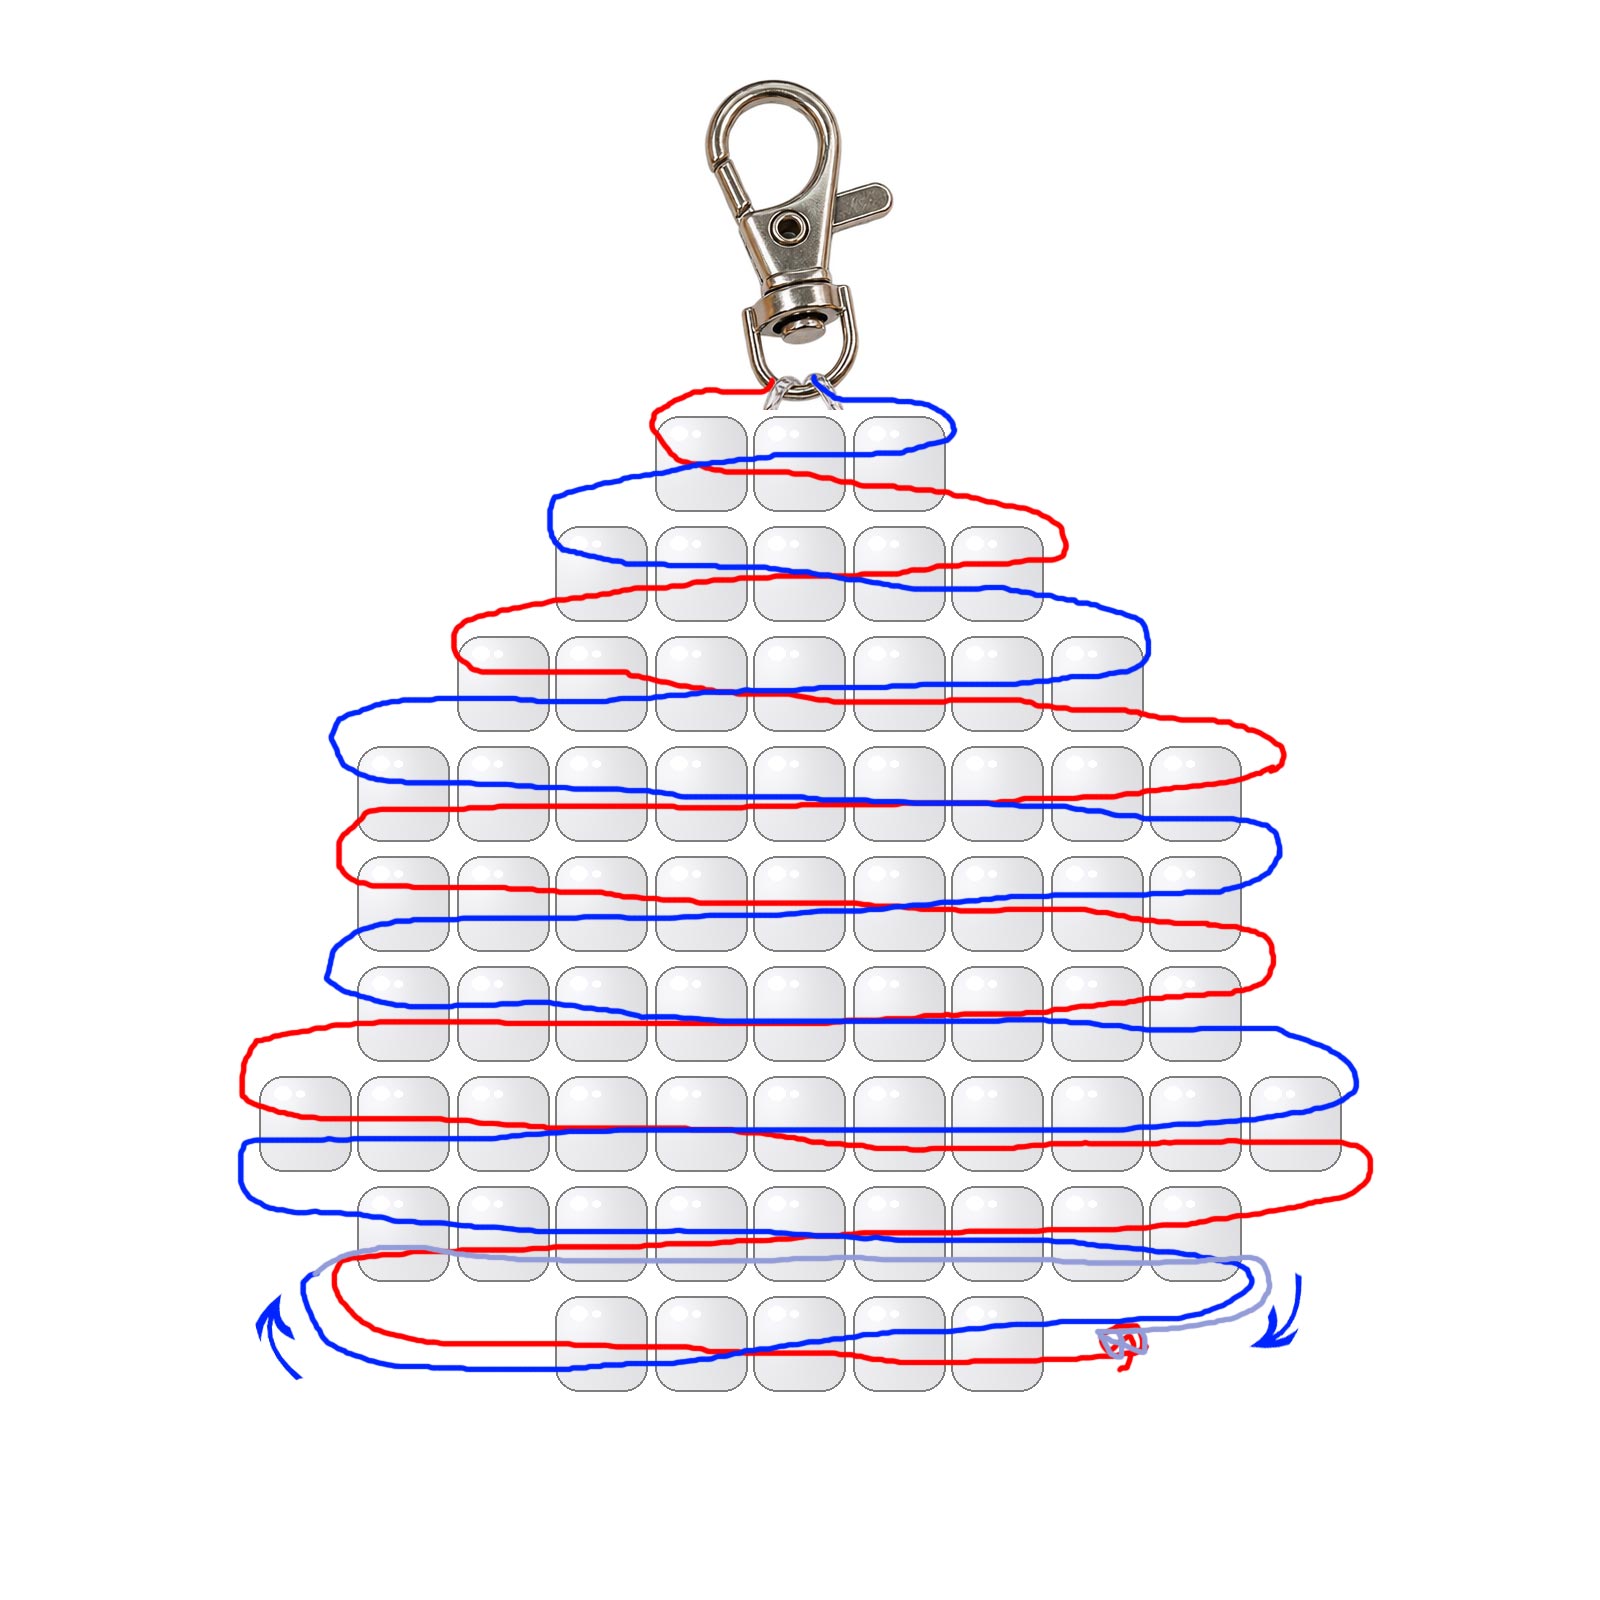
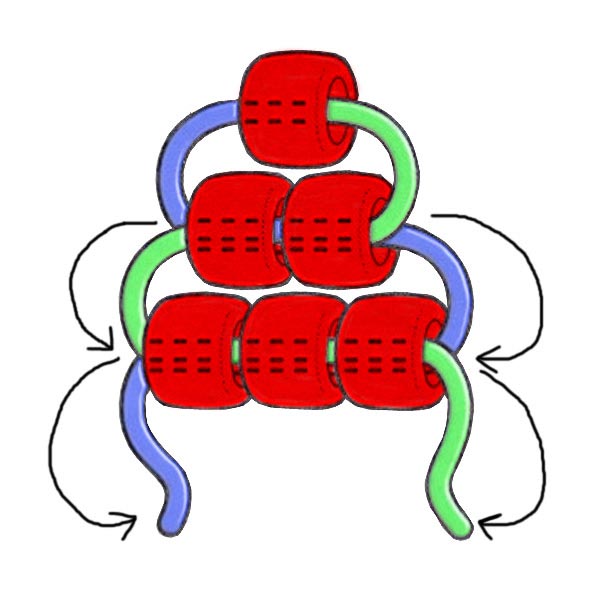 3. Using the Dracula bead diagram below, continue weaving the rows of beads. Thread one cord through the beads for the next row, then pass the other cord through those same beads from the opposite direction. Pull both cords gently until the new row rests against the previous row. Continue following the diagram until all the rows are complete.
4. When you've finished the last row, your two cord ends will be on opposite sides of Dracula. Thread one cord back through the previous row of beads so both cords end up on the same side. Tie the ends together with a double knot or surgeon's knot, add a small drop of glue to secure the knot, and trim the excess cord after the glue has dried.
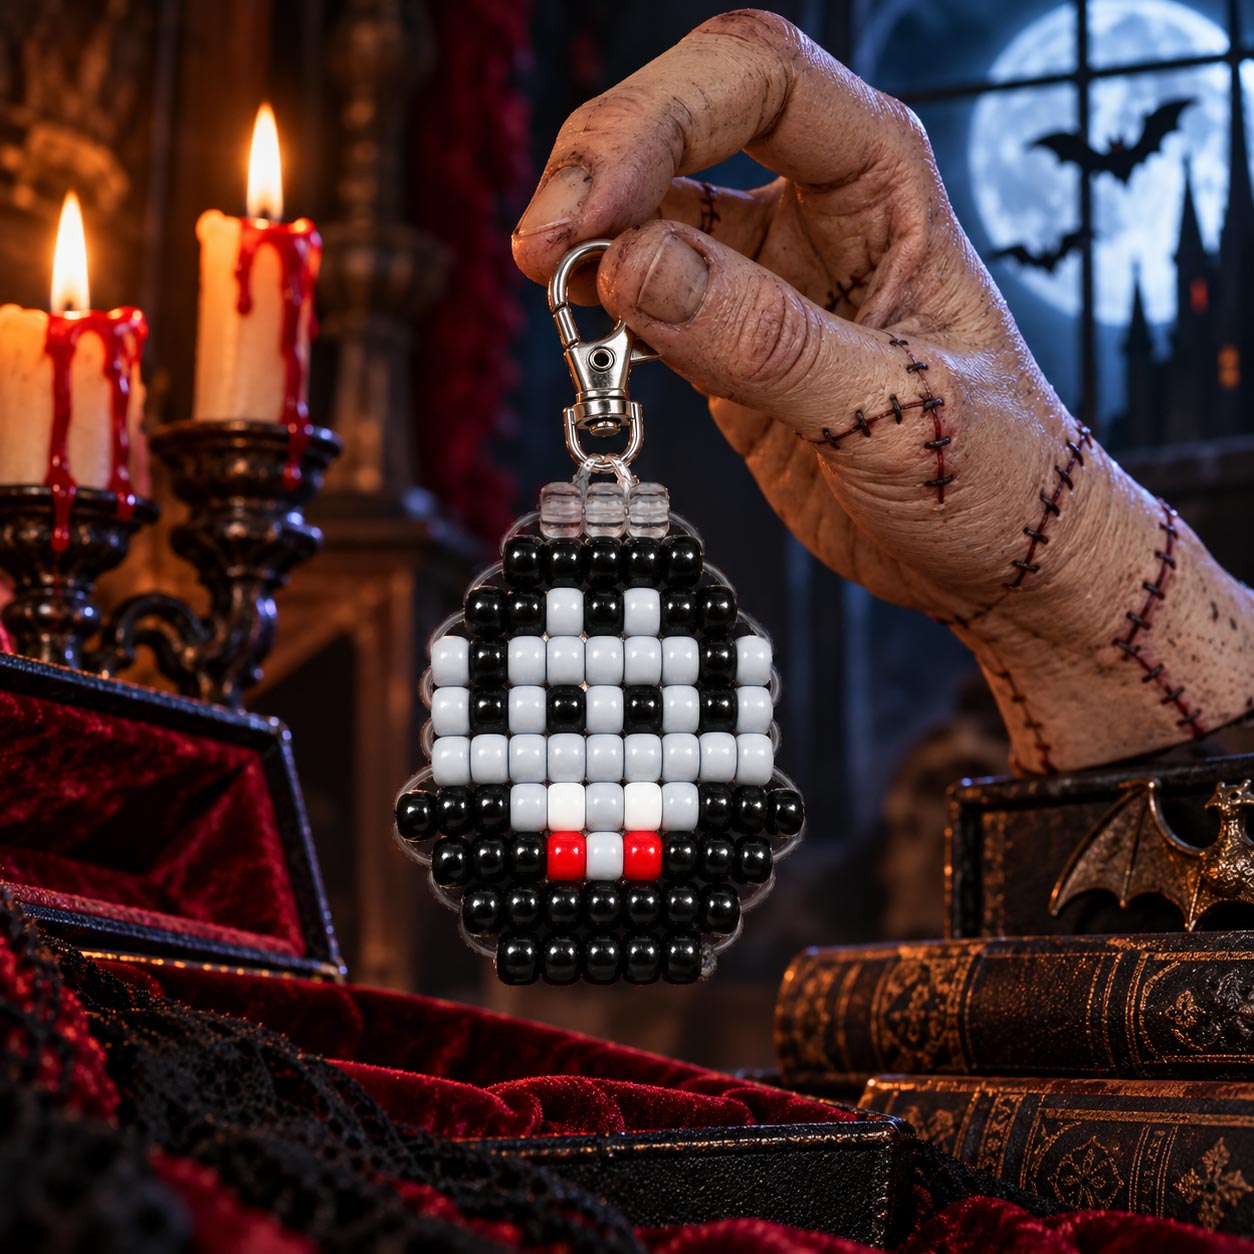
5. Your beaded Dracula vampire is ready for Halloween! Hang him among your decorations, turn him into a handmade ornament, add him to a backpack, or let him tag along on your keychain.
If you prefer working with smaller beads, you can also use the same diagram with smaller beads and a thinner cord. The finished vampire will be smaller, but the weaving method remains the same.



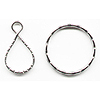 1 - Key Ring
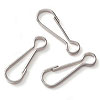 1 - Lanyard Hook
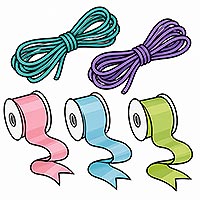 5 ft - Cording
 40 - Black Pony Beads
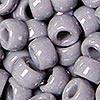 27 - Gray Pony Beads
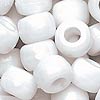 2 - White Pony Beads
 2 - Red Pony Beads
 3 - Clear Pony Beads
 Glue
Glue