1. Attach the Cord to the Key Ring
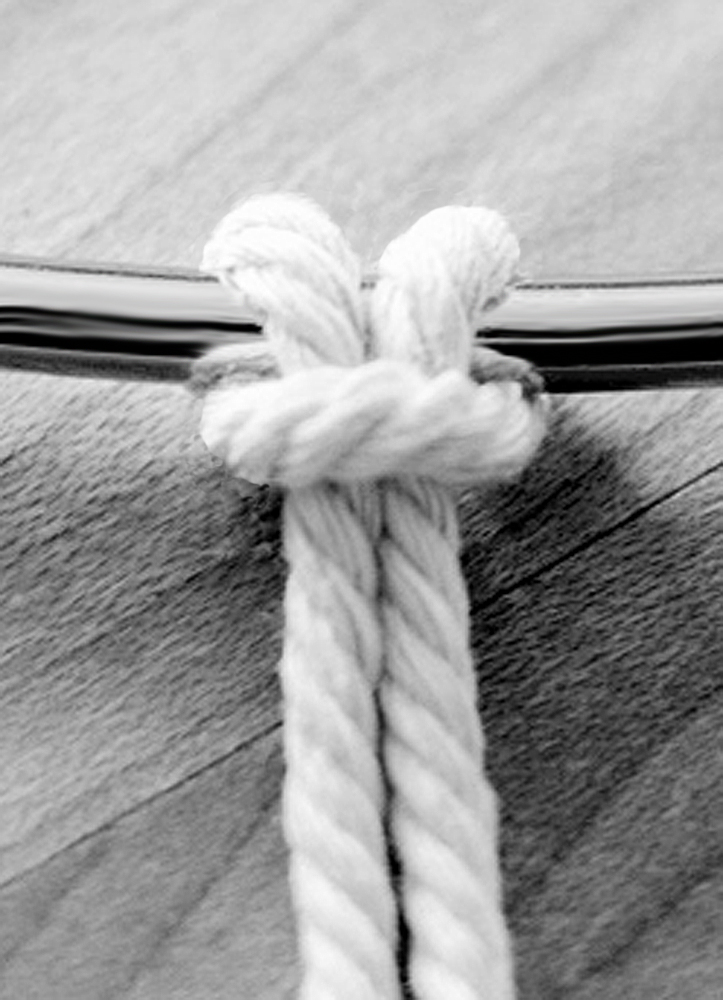
Find the half way point of the cord or wire you are using and attach it onto the key ring using a
Lark's Head knot as shown in photo.
Make sure both cord ends are even before you begin beading.
2. Begin Weaving the Beads
Begin weaving the beads onto the cords by carefully following the pattern diagram near the bottom of the instructions, in the section titled, "Understanding the Diagram". You can click the pattern image on the website to enlarge it for easier viewing while you work.
As you work, gently tighten the cords after each row so the beads sit snugly together without twisting. Taking your time during the first few rows will help your lobster keep a neat, even shape.
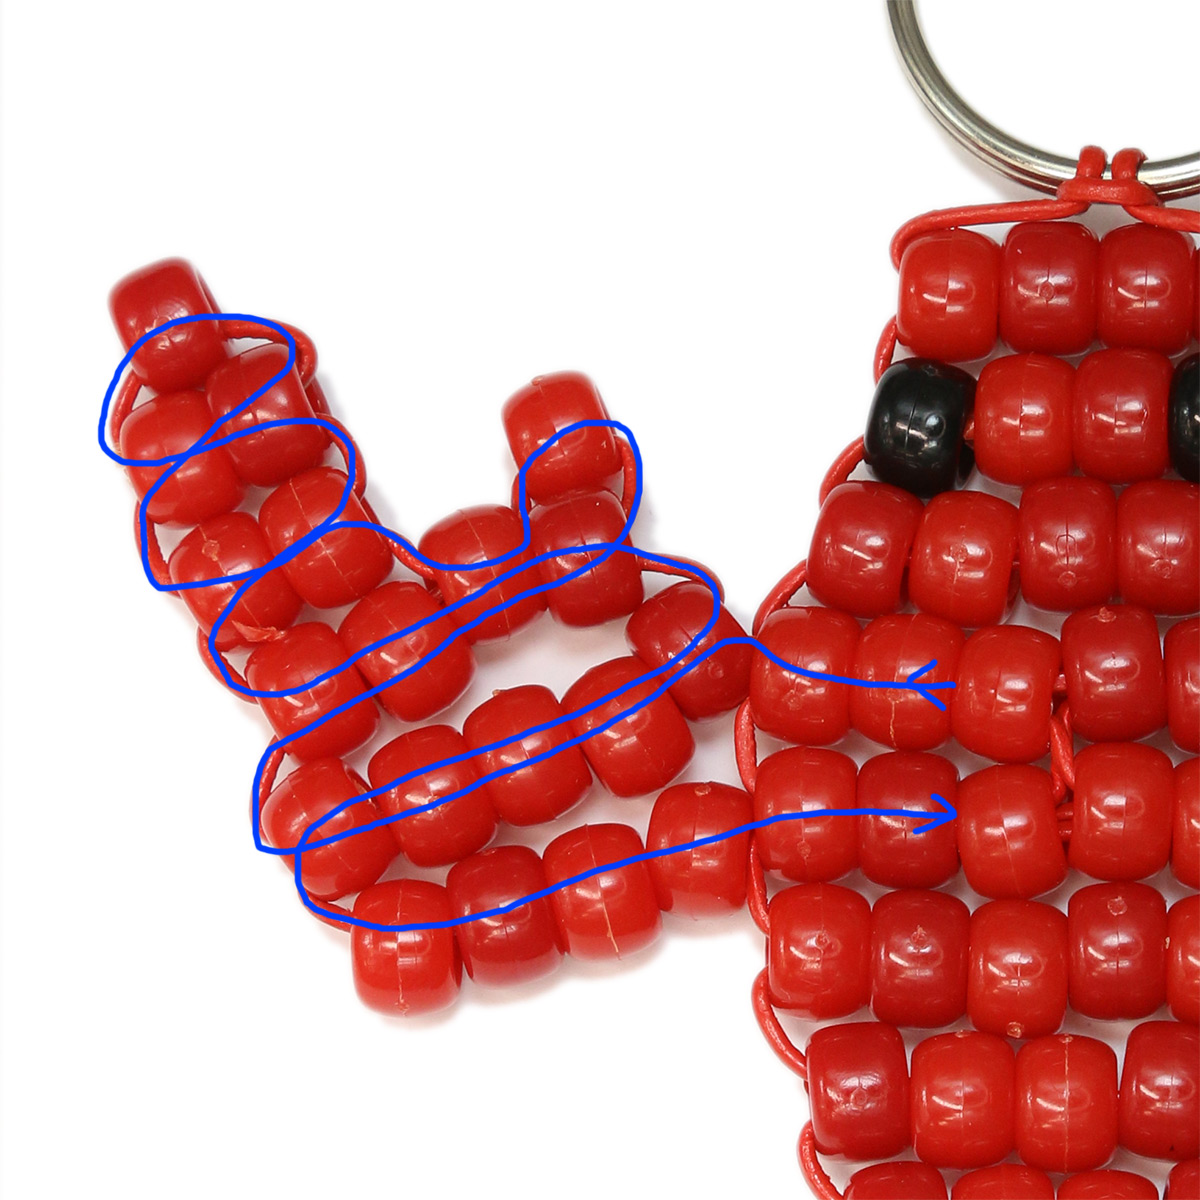
3. Create the Claws
After completing the first three rows of your crawfish (lobster) body, begin forming one of the pinchers/claws using the diagram on the right.
Pay close attention to the cord path between rows 4 and 5. One side of the cord travels back upward through the center rows before continuing forward. This important criss-cross weaving helps lock the bead rows together and gives the lobster added stability.
Repeat the same process for the second claw.
4. Finish and Secure the Ends
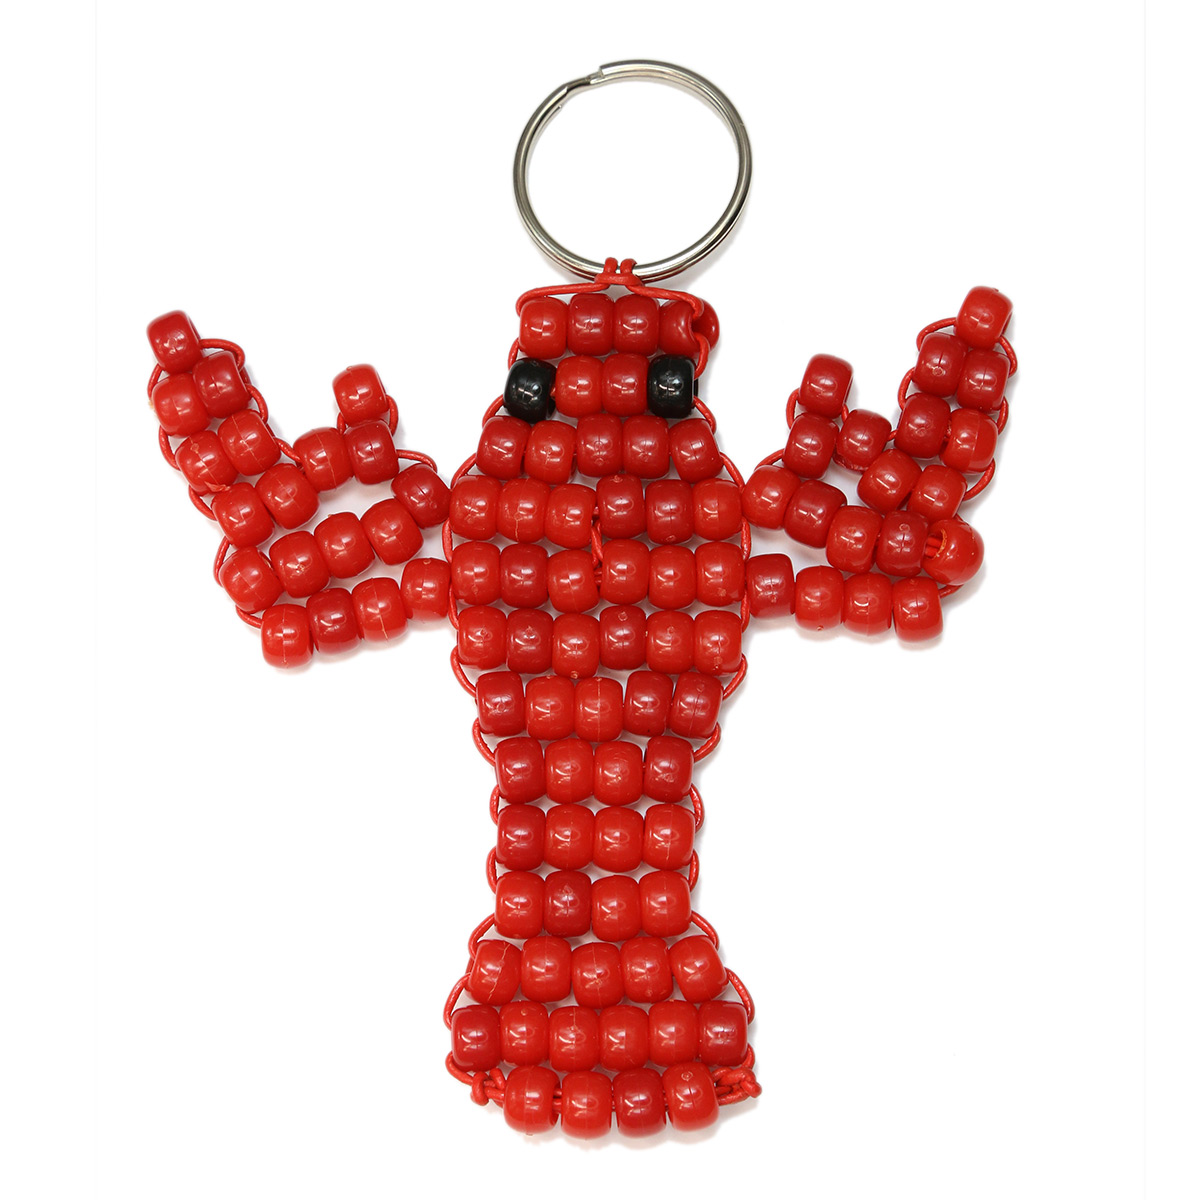
When the bead pattern is complete, the cord ends should exit on opposite sides of the lobster.
Tie each end off and then to hide the ends neatly, weave a little of the excess cord back through your bottom row to conceal the ends and then trim any excess.
Apply a tiny dot of glue to each knot to keep them secure and allow to dry thoroughly.
5. Add Optional Support
If you are using wire or pipe cleaners for extra firmness, carefully weave them through the inside rows of the lobster (crawfish) body and claws.
Usually, adding support to one row in each claw is enough to help them hold their shape nicely.
Helpful Tips
- Seed beads or E beads can be substituted for pony beads to create a much smaller lobster charm. These would make great earrings or necklace.
- Metallic, glow-in-the-dark, pearl, or transparent pony beads can create fun special effects.
- If your lobster feels loose, gently pull the cords tighter row by row before tying off.
Understanding the Diagram
The illustration below uses green and blue lines to show you how the two cord ends weave through the beads. Your cord, of course, will be all the same color.

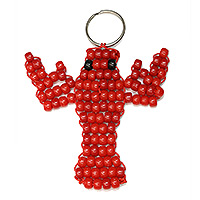
Have fun creating your beaded sea creature friend!


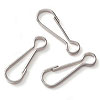 Lanyard hook
 Key Ring
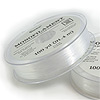 Monofilament Cord
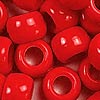 99 - Red Pony Beads
 2 - Black Pony Beads
 * Glue
 * Scissors
 Beading Wire
 Pipe Cleaners